[
Return to Main Page ] [
Return to Projects Index
] [
Doc's Machine & TWB Store] [
Contact Us ]
[
The Whiteboard Webcomic
]
Setting up a ShapeOko 3 CNC Router and Enclosure, Part 2:
Since one of the first heavy projects planned for this router is going to be a time-intensive production run, I
opted to swap out the DeWalt router straight away, in favor of a 800W (1HP) high speed spindle off of eBay.
I got a smaller kit with just the spindle and VFD, which meant I needed to make my own clamping mounts.
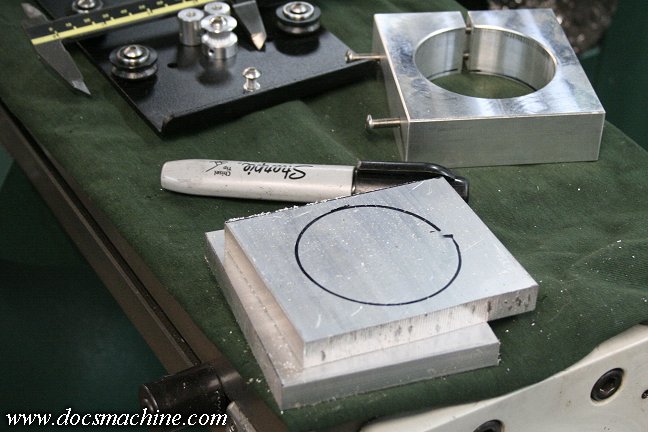
I started by bandsawing two chunks of 4" wide x 1/2" thick aluminum bar.
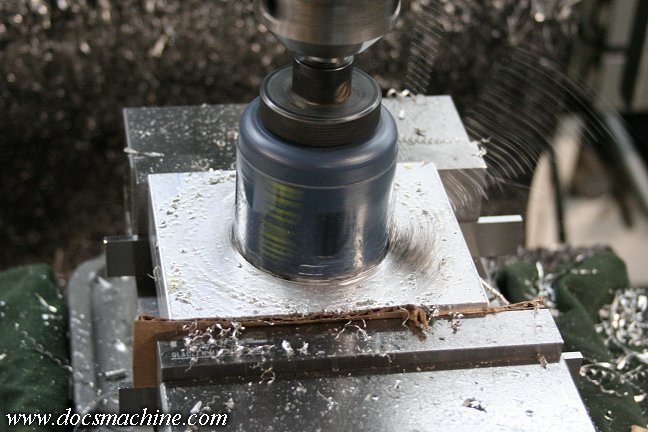
Found the center and used a hole saw to remove the bulk of the material.
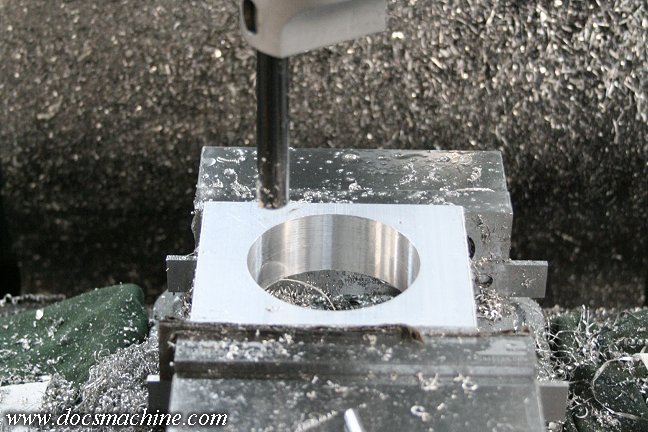
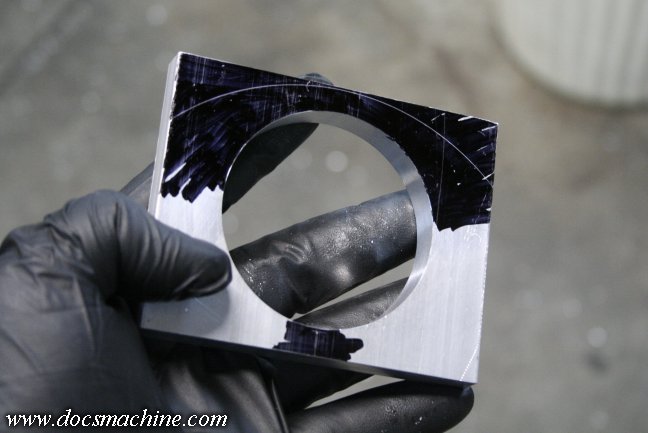
Then finish-bored them to size in the same setup.
To add a bit of flair, I decided I'd mill off some of the front edge just for aesthetics.
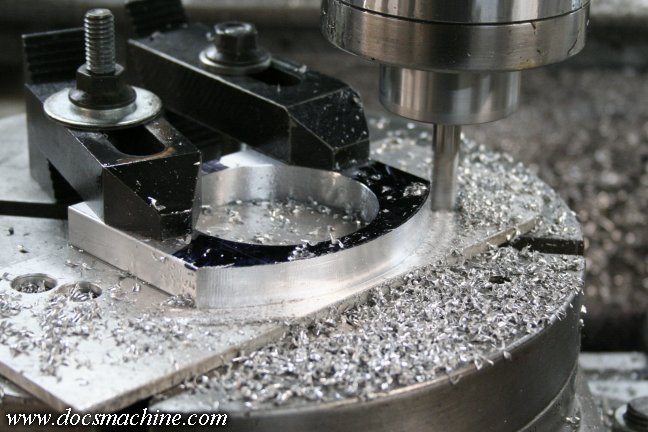
A few minutes to locate the center of the radius, and then a quick couple cuts on the rotary table.
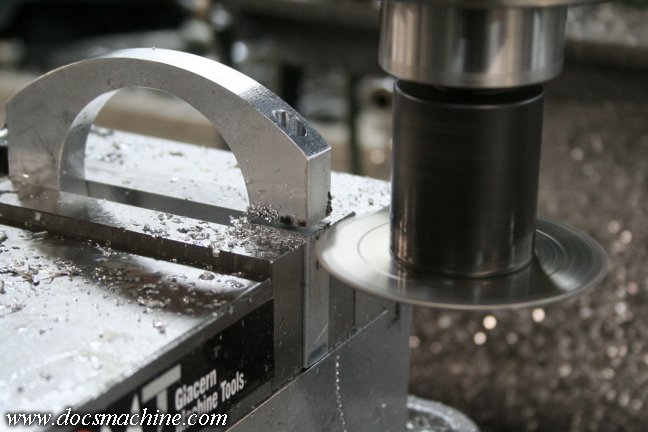
Drill and tap the mounting holes, drill, counterbore and tap a hole for the clamping screw,
and a quick slice with a thick slitting saw finishes 'em off.
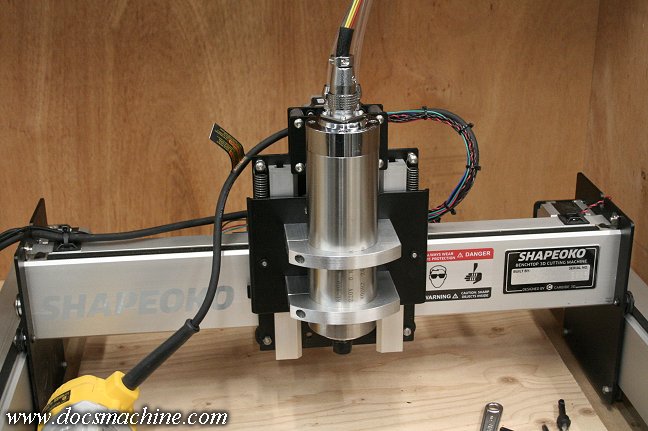
And mounted to the Shapeoko carriage. I opted for the 1HP spindle since
the 2HP was just too heavy for the machine. Note the water-cooling hoses.
All text, photos and graphics
Copyright 1998- 2018, Doc's Machine & Airsmith Services. All Rights
Reserved.
Information contained in
these pages is for reference and entertainment
purposes only. Our methods are not always the best,
quickest, safest, or even the correct ones. It's up to you to know how
to use your own machines and tools.
Keep your fingers away from the spinny blades o' death and you should
be all right.


