[
Return to Main Page ] [
Return to Projects Index
] [
Doc's Machine & TWB Store] [
Contact Us ]
[
The Whiteboard Webcomic
]
Next comes... well, everything else. I'd originally planned on three pieces, with the second one being the
flat portion
at the bottom of the fender. (Keep in mind these pics were
taken while I was lying on my back on a creeper.
I had the car jacked up
a bit for better access, but the bottom of the fender was still only
about 18" off the floor.)
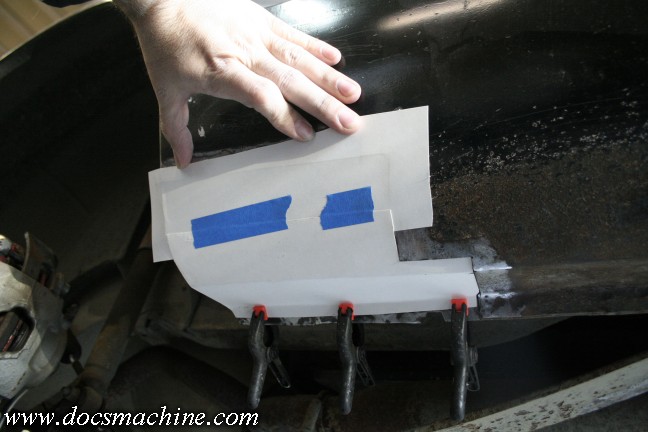
I decided it'd be better to have as few weld seams as possible, so I set
about making a single patch panel to fill the entire opening.
Again, an easy process of cutting up some card stock 'til
something looks about right. I used a ruler to make two bends about
where they should be, trimmed it and clamped it in place, then taped on a
bit extra to make sure I covered the hole.
In a situation like this, it's easy to mark lines- just press the paper
into the cut edge to imprint it.
You can see the line surrounding the blue
tape, from my grimy fingers.
All text, photos and graphics
Copyright 1998- 2015, Doc's Machine & Airsmith Services. All Rights
Reserved.
Information contained in
these pages is for reference and entertainment
purposes only. Our methods are not always the best,
quickest, safest, or even the correct ones. It's up to you to know how
to use your own machines and tools.
Keep your fingers away from the spinny blades o' death and you should
be all right.


