[
Return to Main Page ] [
Return to Projects Index
] [
Doc's Machine & TWB Store] [
Contact Us ]
[
The Whiteboard Webcomic
]
Cleaning up a Rockwell Tool Grinder
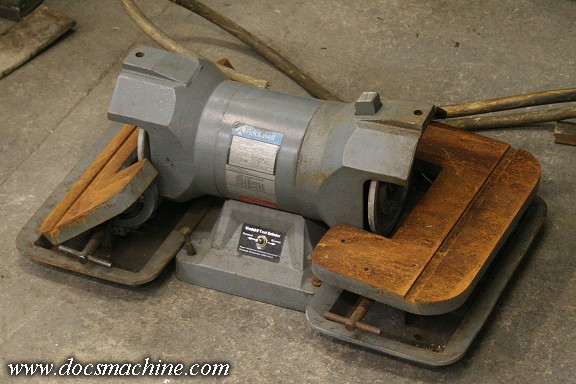
A while back I picked up Rockwell tool grinder so i could use diamond and silicon carbide wheels
for carbide cutters. While I'll be modding it later with a VFD for speed control and probably building
a new stand for it, it can still be used as-is. The paint's in good shape, but it's a bit grungy, though,
so while I don't feel obliged to detail strip it, it does still need a touch of attention.
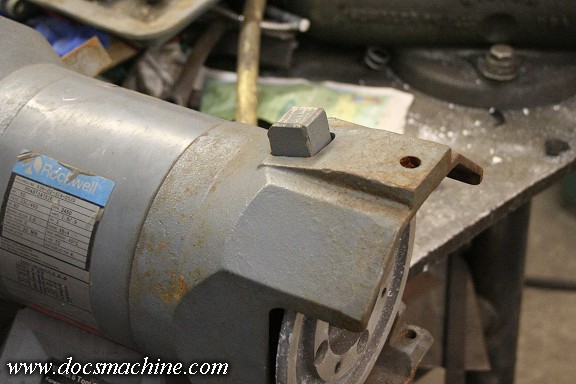
It's much like a typical Baldor 500 tool grinder, except this one's 3-phase so I can use the VFD
to slow it down in order to use diamond laps for carbide scrapers. The Rockwell also has this
interesting little feature- a spring-loaded wooden block that acts as a wheel brake.
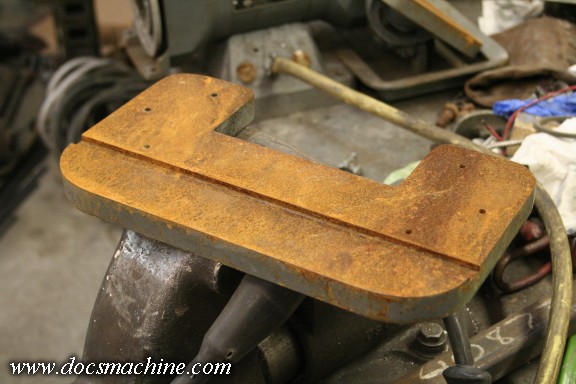
The only real problem was the tables. The grinder had originally come out of a local equipment auction,
and as appears to be the normal operating procedure, had opted to leave it out in the weather to "season"
for a few days prior to the sale. Lacking a Blanchard grinder, I could have just attacked them with some
Naval Jelly, or a Scotchbrite wheel on an air sander, or just straight up sandblasted them.
But hey, what's a surface grinder for if I don't use it to grind surfaces?
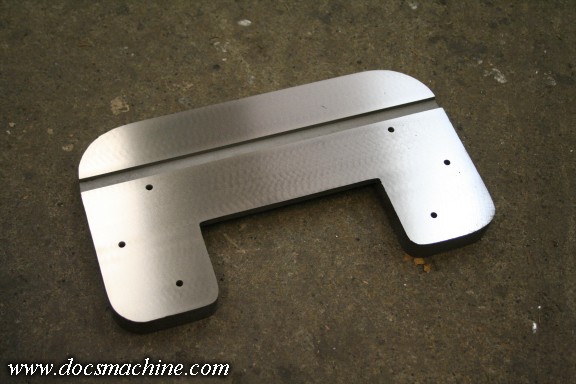
First, since it'd be tough to grind in there, I beadblasted out the miter gage groove. Then a quick ride
through the surface grinder, and we're shiny new again.Only had to take off about .002", though
that did leave just a few scratches and dings here and there. It's plenty clean enough.
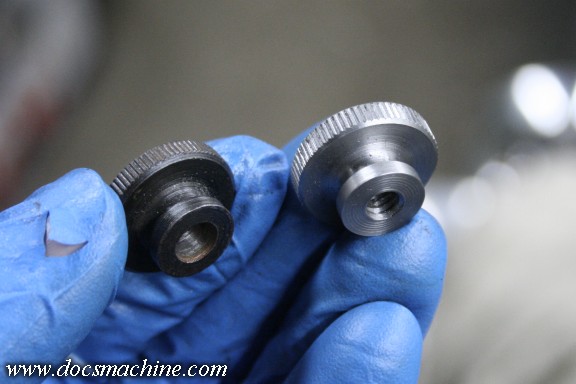
Then it was a quick parts-wash and a reassembly. Turns out I was missing two parts- a T-handle
for one table tilt (there's four locks) and one of the drip-tray thumbscrews. (Thumb-nuts?)
Easy enough, a chunk of 1" mild steel and ten minutes on the lathe, and presto.
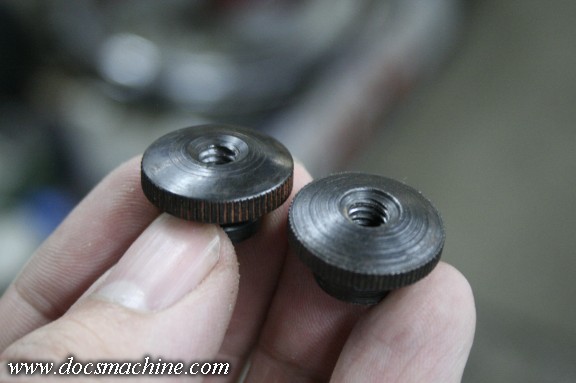
A quick degrease, some gun blue, and a light coat of oil later. (The new one is on the left.)
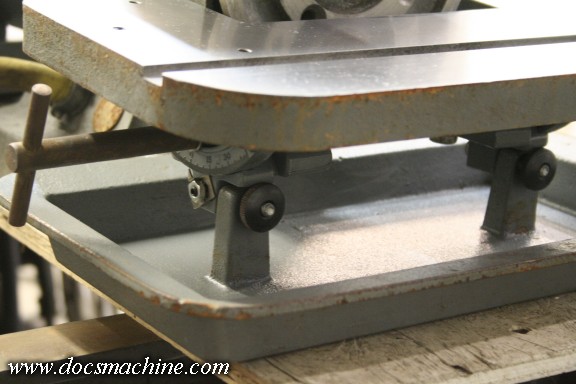
Slap it in place and it looks factory stock.
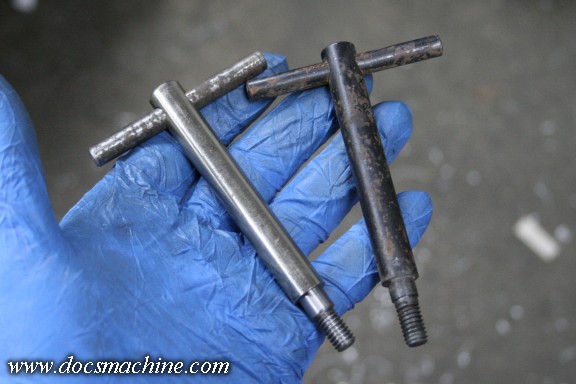
The missing T-handle lock was no harder- a chunk of 1/2" scrap rod from the junkbin
(this one came out of an old copier) and another ten minutes on the lathe,
followed by a quick poke in the drill press...
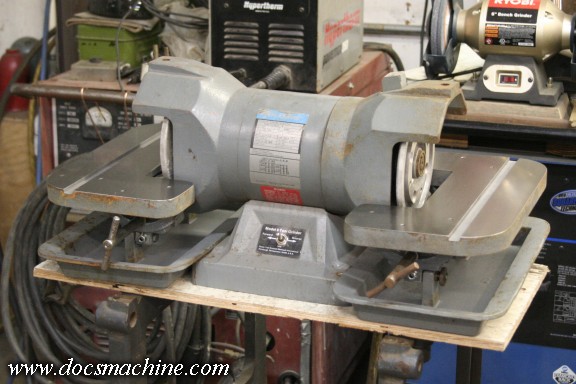
... and... that's it? We're done? Yep, that's it. Hardly worth gettin' out of bed. :)
Now I just order a couple new wheels and put 'er to work!
All text, photos and graphics
Copyright 1998- 2017, Doc's Machine & Airsmith Services. All Rights
Reserved.
Information contained in
these pages is for reference and entertainment
purposes only. Our methods are not always the best,
quickest, safest, or even the correct ones. It's up to you to know how
to use your own machines and tools.
Keep your fingers away from the spinny blades o' death and you should
be all right.


