[
Return to Main Page ] [
Return to Projects Index
] [
Doc's Machine & TWB Store] [
Contact Us ]
[
The Whiteboard Webcomic
]
Converting an R/T Automag Body to Center Feed
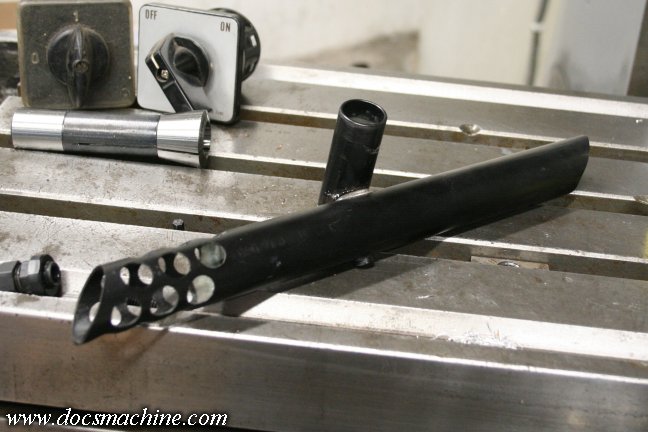
For this mod, the customer wanted this R/T Automag body both polished and converted over to center feed.
The first step was to get out the gas-axe and remove the original feed neck by melting the factory braze.
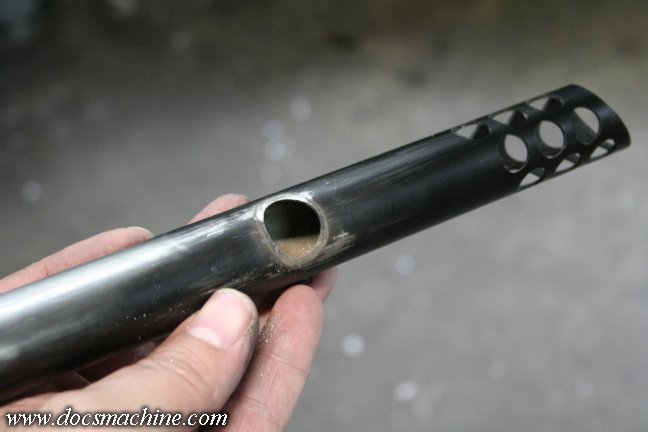
The remaining braze was filed smooth, taking care not to nick the body.
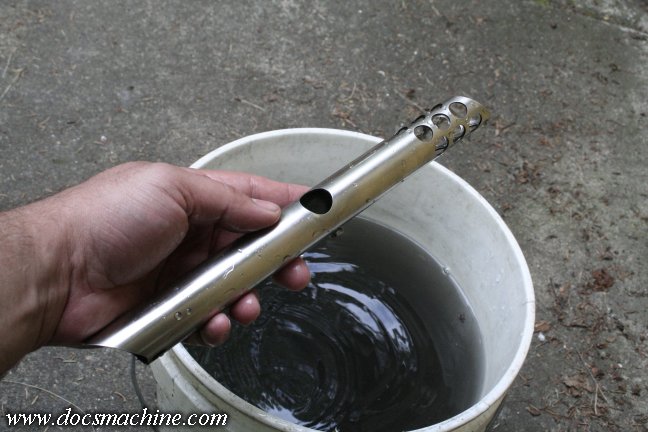
Then, over the next two hundred and thirty-eight and a half hours or so, I hand wet-sanded the body down
so it was smooth and clean. Doing it by hand keeps from rounding off any corners or inadvertently gouging the
body, and wet-sanding keeps the dust down- you don't want to breathe either the black teflon
or the stainless.
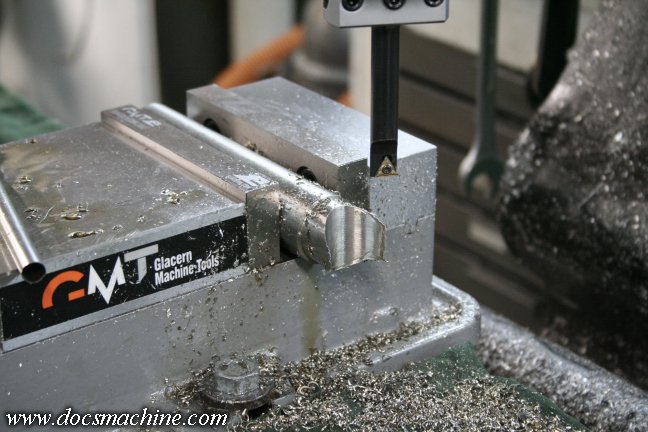
With the body ready, we needed a new neck. I started with a 1.250" bar of 304,
and first milled a saddle to closely match the OD of the Automag body.
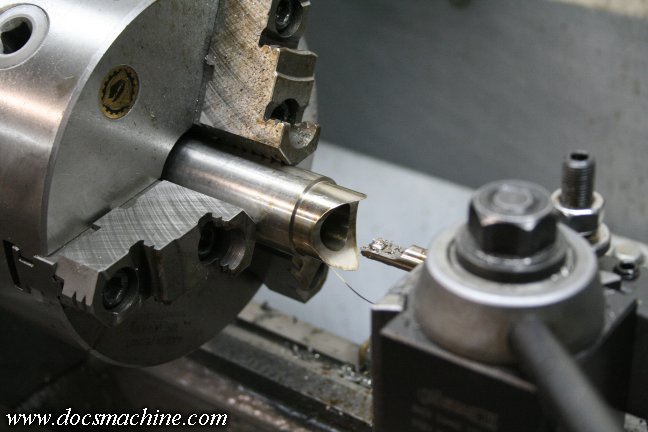
Moving the bar over to the lathe, I bored an undersized feed passage...
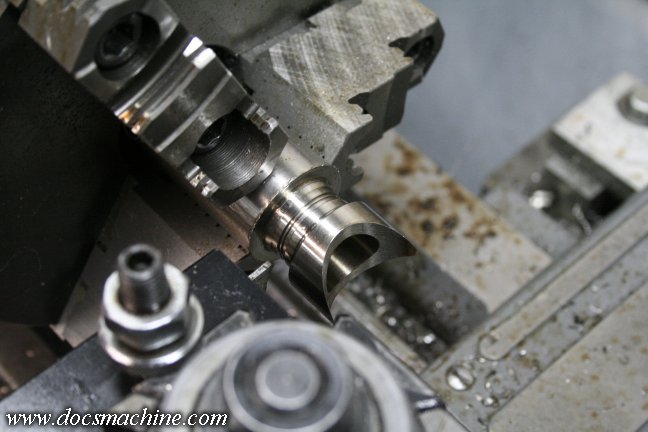
And then turned a reasonable facimile of the currently-popular Empire feed neck stub mount.
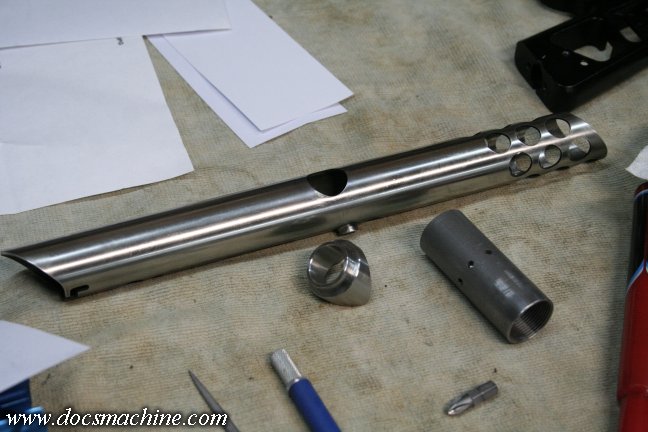
Parted off, trimmed, deburred and buffed, it's ready to install.
The body, however, needs one more mod. The new feed neck doesn't cover all of the original
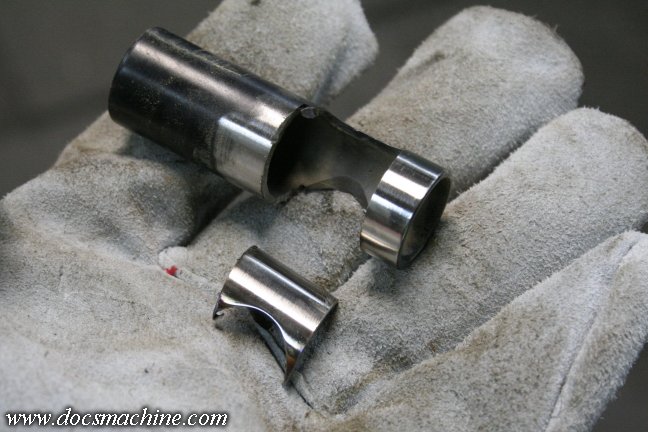
feed port, so it needs to be filled in. I sawed a suitable chunk out of the abandoned feed neck...
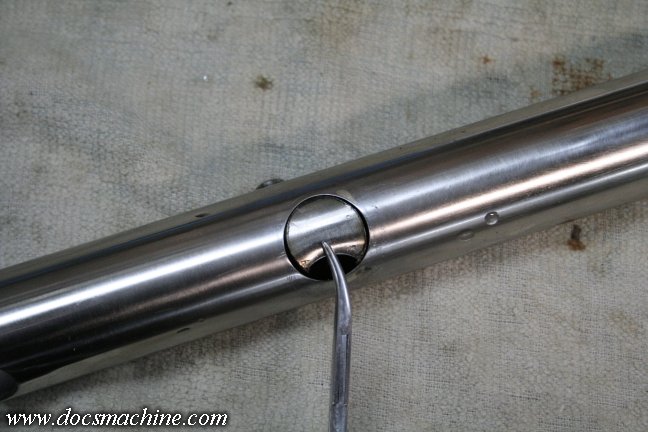
And carefully ground it to fit. I didn't bother making it a full circle, since the top portion, where
the hemostats are holding it, will be bored out for the new feed port.
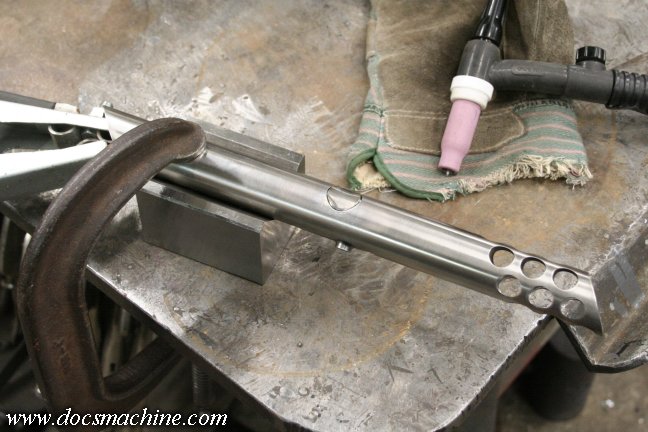
Over on the welding table, I set up this little fixture to hold the body, and slipped a chunk of aluminum,
turned down to exactly one inch, into the breech to hold the filler piece in place.
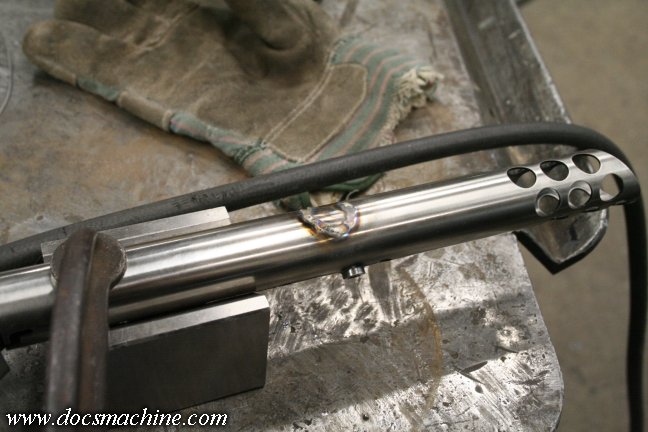
Then it was a simple matter- for certain definitions of "simple"- to gently TIG weld
the plug into place. I was using a 1/16" tungsten, and .035" stainless tie wire for filler.
All text, photos and graphics
Copyright 1998- 2017, Doc's Machine & Airsmith Services. All Rights
Reserved.
Information contained in
these pages is for reference and entertainment
purposes only. Our methods are not always the best,
quickest, safest, or even the correct ones. It's up to you to know how
to use your own machines and tools.
Keep your fingers away from the spinny blades o' death and you should
be all right.


