[
Return to Main Page ] [
Return to Projects Index
] [
Doc's Machine & TWB Store] [
Contact Us ]
[
The Whiteboard Webcomic
]
A Rolling Storage Tray for the Lathe
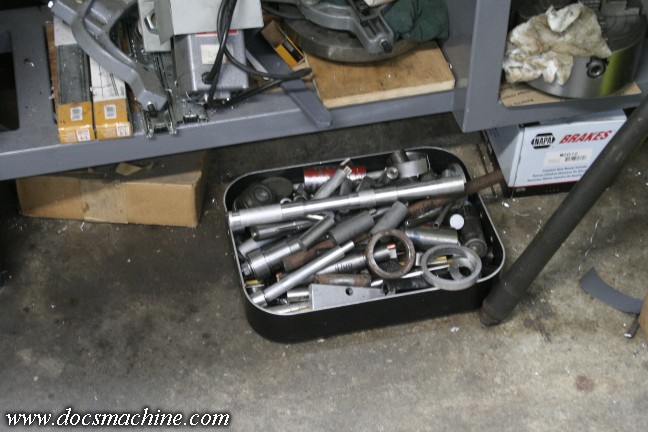
Like most of us with shops, I'm chronically short on storage space, and like most machinists,
I've collected a sizeable pile of cut-offs, leftovers and stub materials. Such a pile is always
useful, but often unsorted and in the way. I hate just piling it in the lathes' tool tray, and
not too long ago I started using this old leftover aluminum baking tray to just dump it all into.
The problem there, of course, is that it doesn't slide well on the concrete floor, and as you
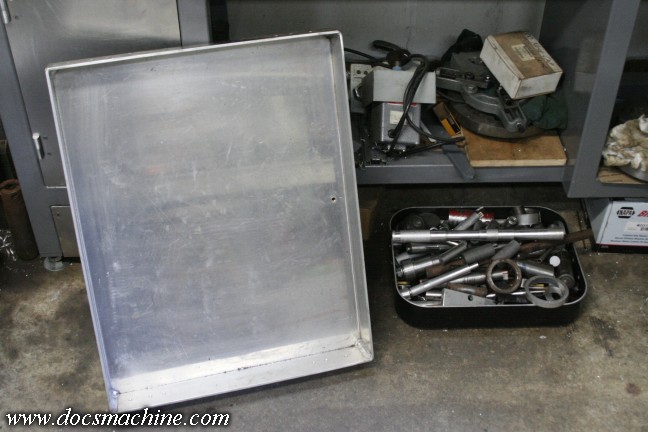
can see, it's already filled to overflowing. I needed something better. Several years ago, a buddy
of mine acquired some equipment at an auction, and of course the lot came with some extra junk and
fluff he didn't need. And so he passed it on to me. In amongst the junk was this largish heavy
aluminum tray, that had two heavy-duty drawer sliders attached.
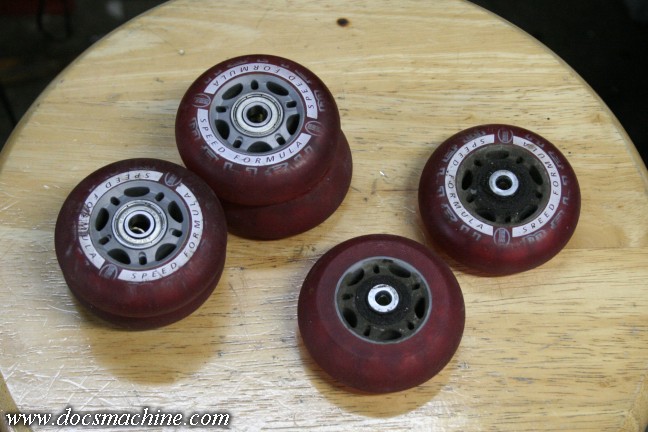
A few years back a fellow on HSM showed a drawer he'd made, that was "free rolling", it slid
under a cabinet on its own rollers. He'd used common polyurethane rollerblade wheels, and I thought
it was a great idea. I found a set of cheap inline skates at the local secondhand store, that
yielded 12 usable wheels and axles. The wheels were badly worn on one side, but who cares?
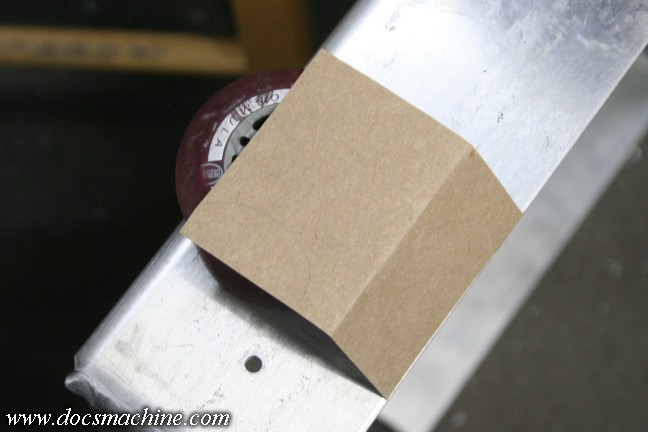
So the question became how to mount them without too much hassle. After a little pondering,
I grabbed a handy hunk of CAD-board and snipped up a quick trial bit to check dimensions.
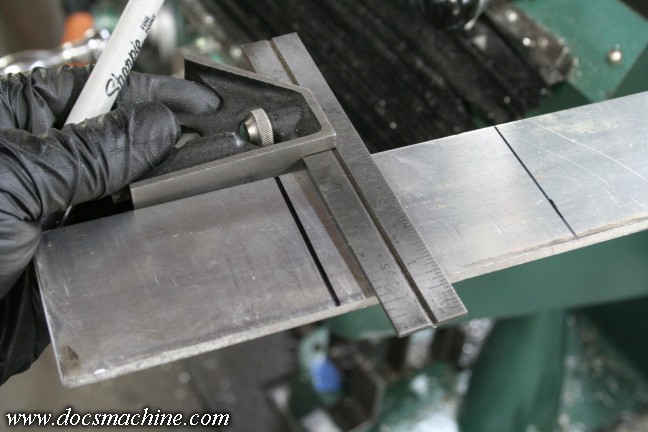
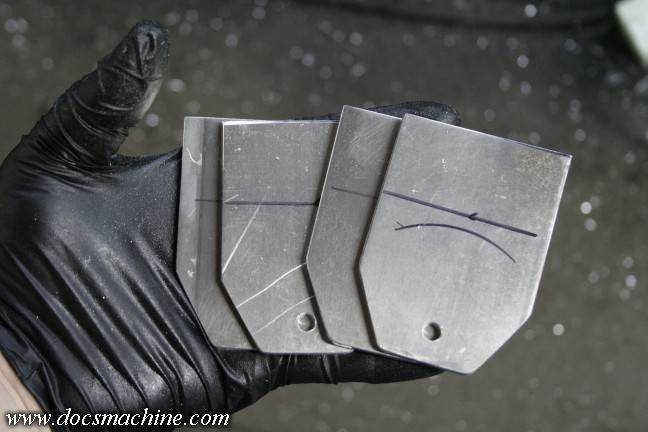
I transferred that measurement to a stick of 3/16" 5051 aluminum, and marked it.
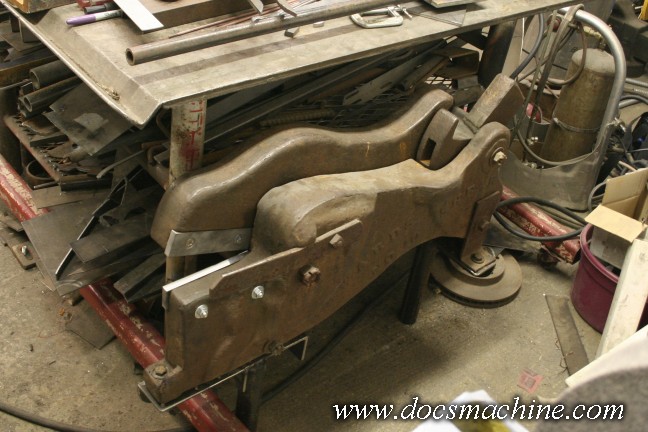
I then chopped those bits to size with the
Edwards #10 Alligator shear.
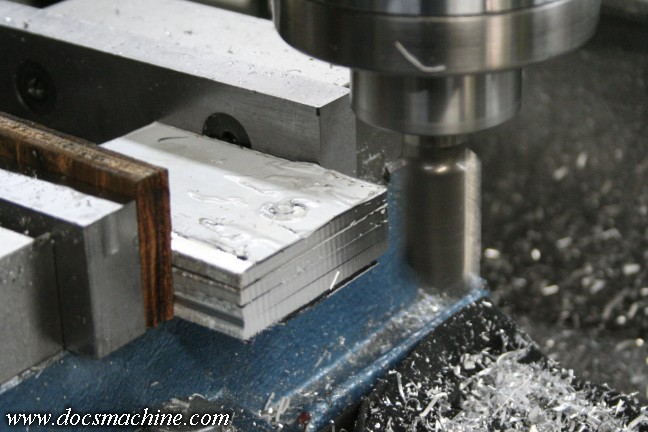
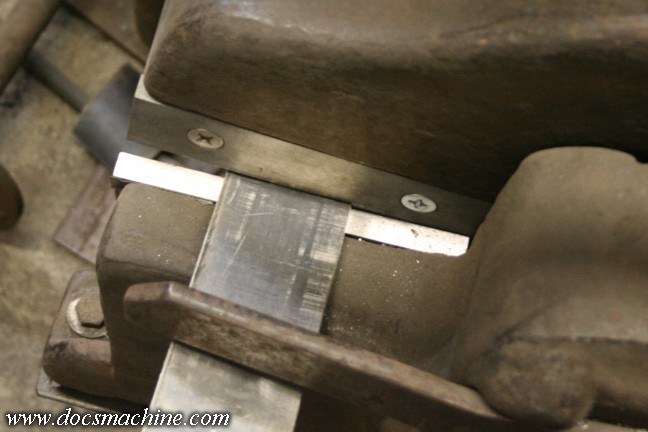
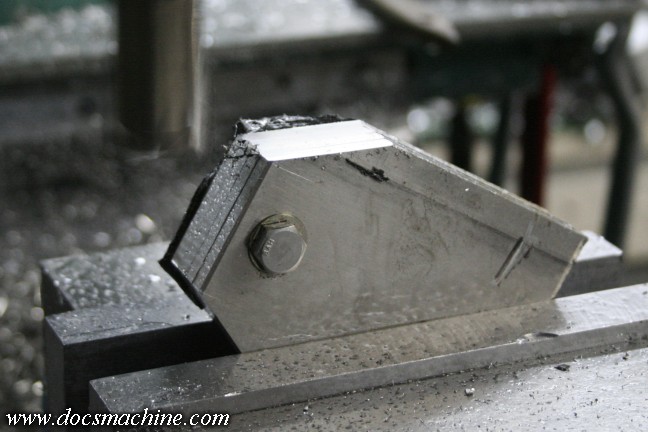
And since they wound up slightly different lengths, I stacked 'em up and
trimmed them to length on the mill. Note the piece of scrap plywood-
that provides some "give" so that all four pieces clamped firmly.
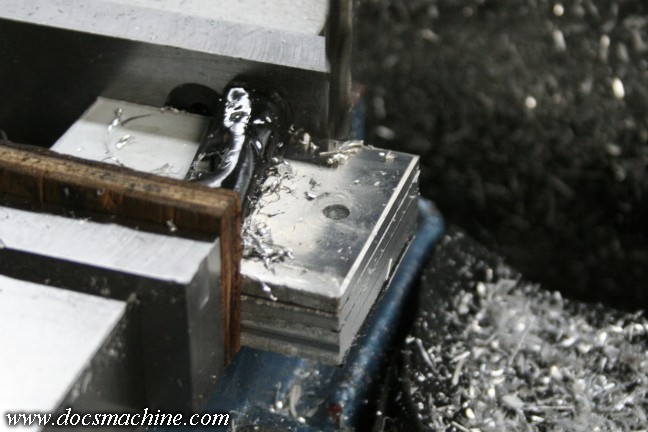
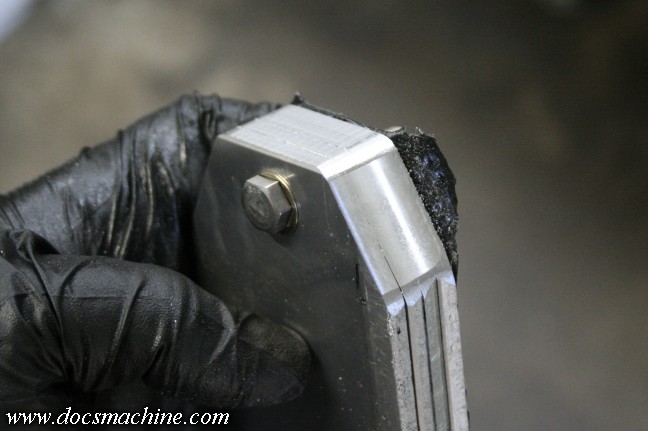
And, while still clamped, I found the center and drilled a 1/4" hole right about there.
And finally, just for giggles, I trimmed off a 30-degree corner. Give 'em some style, y'know.
A few passes with the file rounds the corners a bit...
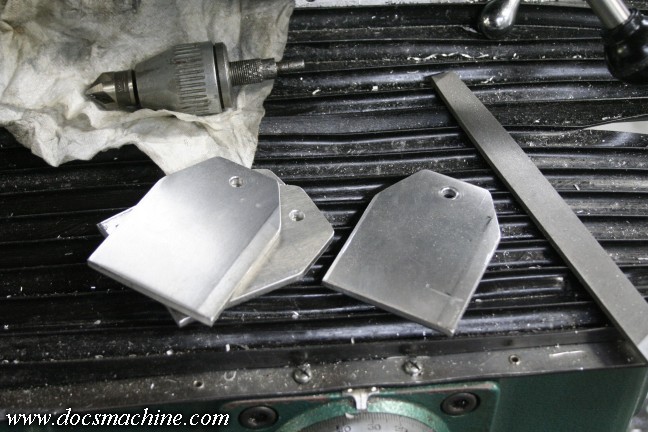
And then each one got a quick deburr job- note the old drill chuck I use to
hold a countersink for deburring holes.
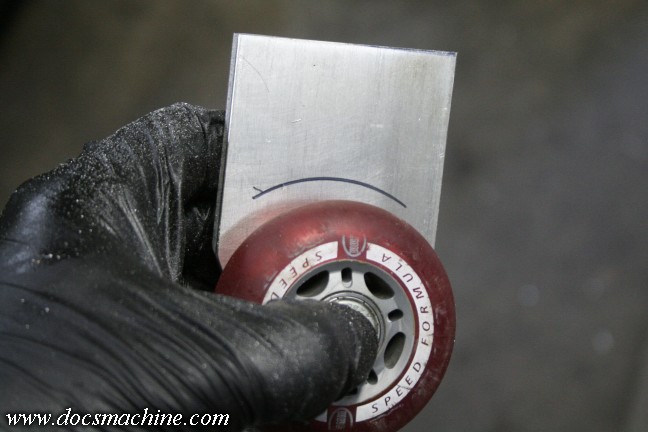
Now for the setup. With the wheel mounted with an axle,
I marked the bracket with, oh, about that much clearance.
Using that measurement, I then marked each one.
On to Part 2....
All text, photos and graphics
Copyright 1998- 2016, Doc's Machine & Airsmith Services. All Rights
Reserved.
Information contained in
these pages is for reference and entertainment
purposes only. Our methods are not always the best,
quickest, safest, or even the correct ones. It's up to you to know how
to use your own machines and tools.
Keep your fingers away from the spinny blades o' death and you should
be all right.


