


|
|
|
|

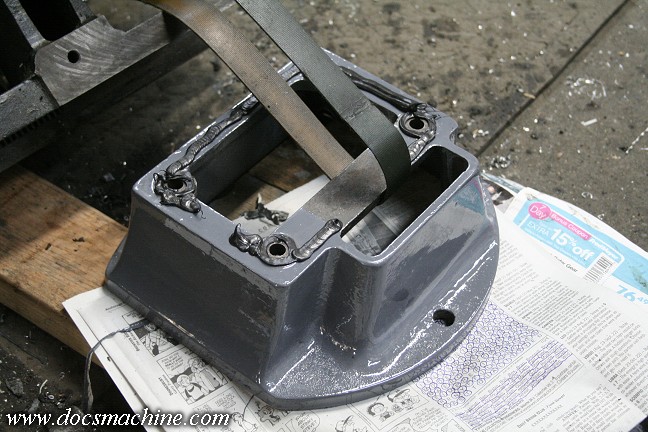
Since I couldn't separate the parts, I had to carefully strip the paint...
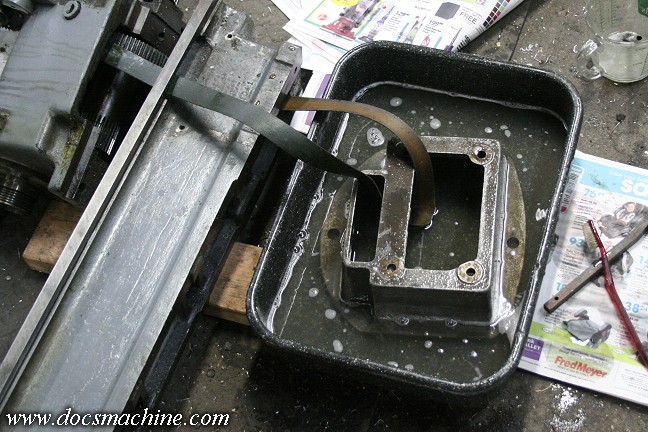
... Rinse....
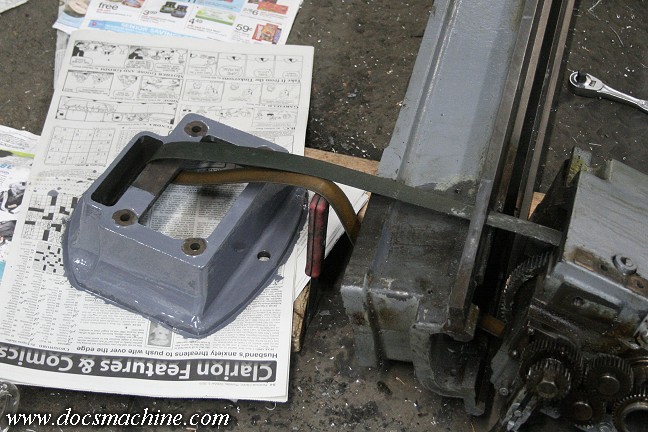
... and paint, all while they still tethered together.
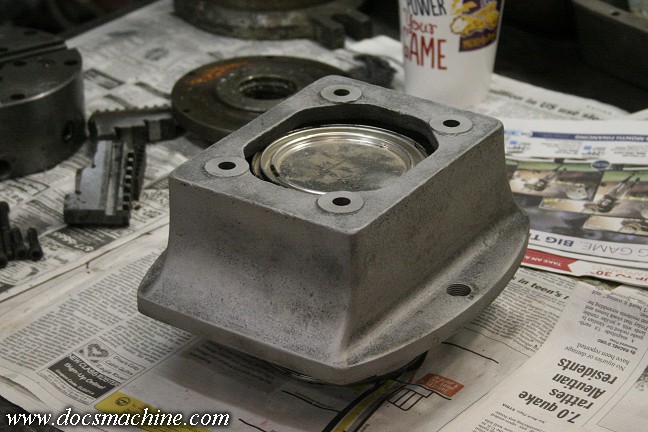
The tailstock end casting, of course, was easy enough to toss through the beadblaster and paint up on the counter.
After a little ancillary cleaning, it was time to put them back together. (Keeping in mind all of this took place
over the course of some ten days, as time permitted and as parts dried and paints cured.)
To replace the
sealant, it was recommended I use something called "The Right Stuff"- it's a high-quality gasket sealer made
by Permatex, and comes in stubby caulking gun tubes. Supposedly it's either the same stuff or very close to,
that the auto manufacturers use at the factory when assembling engines. Other machinists tell me they've
used it for years on their coolant enclosures, with no problems so far, so that's what I used. (Local auto
parts store had a kit with two tubes and a stubby caulking gun.)
First, the base to the bed...
Then the headstock to the bed. I didn't fill the gap at the front (the lower left edge) since there's nothing
to which to seal against on the bed casting, and the slot at the back (lower right) has a removable
cover which will be sealed later
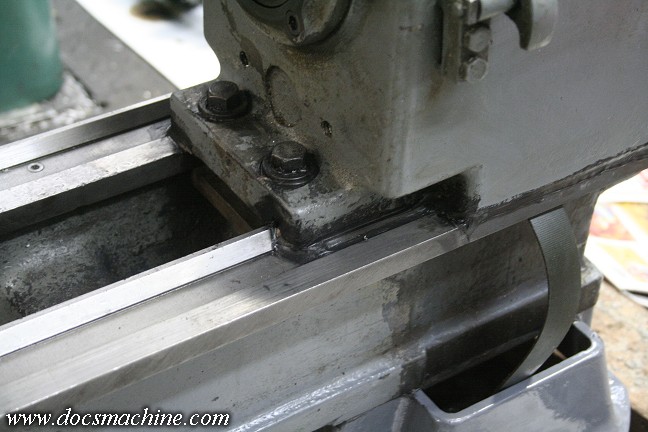
With the previous potting, somebody had actually stuffed a rag- or possibly a fibrous tape- into some
big gaps, and then smeared in half a cup of sealant. I'll be doing it a little more elegantly later,
so there's still gaps at the front, but the rest is well-sealed.
Here you can see the gap at the front edge of the headstock casting,
between the bed rails. That's about a half-inch gap.
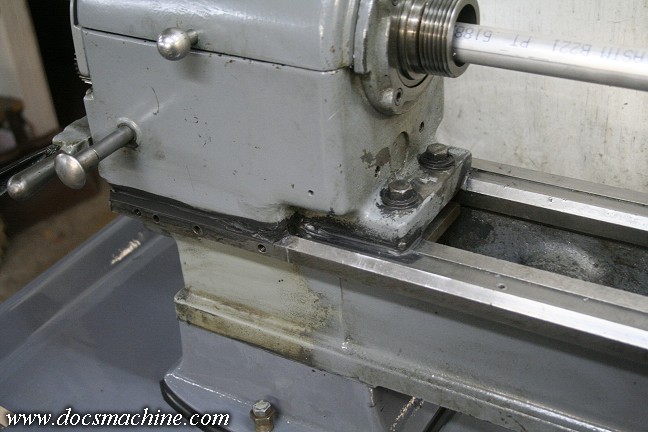
I could try
filling it in with sealant, but there's another gap under it, and a
third between the bed and the base casting.
The plan, as I have time,
is to make a new bar that those two bolts go to, that instead of being
just a flat plate,
with be shaped like a T-nut, so the upper gap will
be less than an eighth-inch.
I'll also make a "flap" or skirt that
hangs down, protecting the lower
gap under the bed clamp. The one on the base will likely need a formed
filler
piece, like the rag before it, smeared and shoved in there.
I forgot myself as we were setting it down- I'd sealed the entire edge of
the tailstock base as well. That's bad,
as it's open at the top through
the bed. Virtually no way I'd be able to seal that, so really, it
needed to be left open.
Sure, coolant will get in- as will chips- but
if it's open it can flow right back out again.
I was forced to pry that
end up, scrape the sealant off the left and
right edges, and set it back down. I raised the bed slightly
on it's
jackscrews so there'd be a slight gap once everything cured. (It gets
levelled later.)
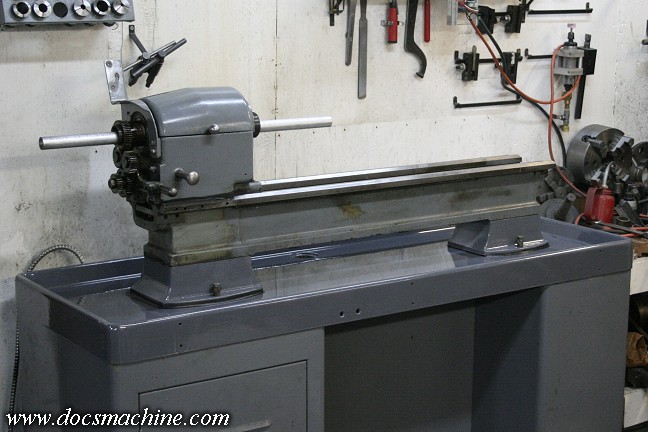
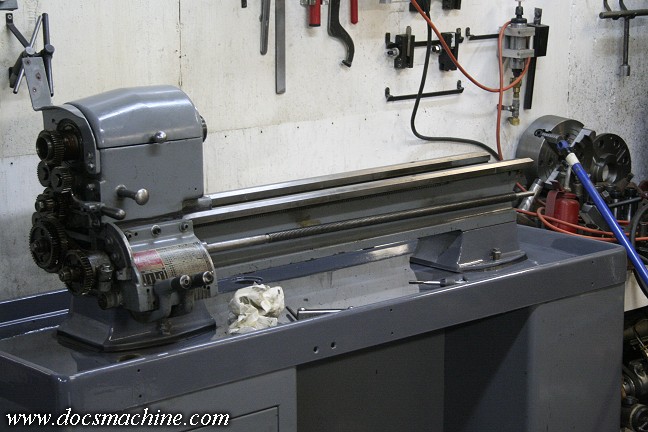
So, with only minor detailing- like cleaning out tapped holes, etc.- it was time to slap it all back together.
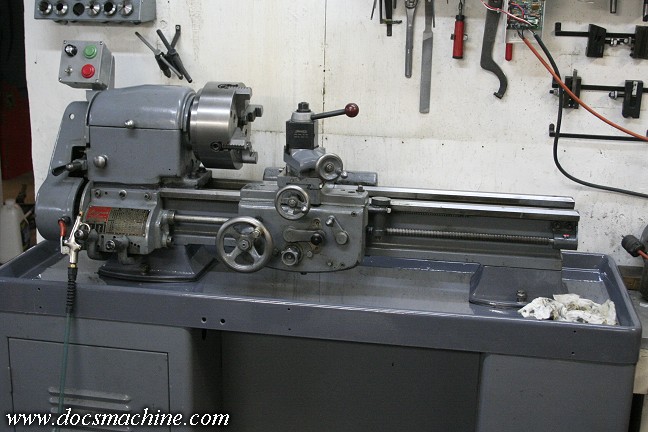
Not yet ready for coolant, but back in working order and shiny clean.
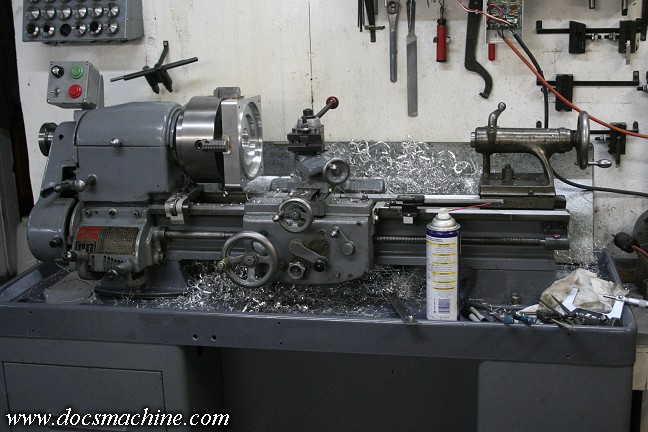
.... Aaand three or four hours later.
Now I've gto to clean it again before I can start cleaning it again.
:)
 |
 |
 |