


|
|
|
|
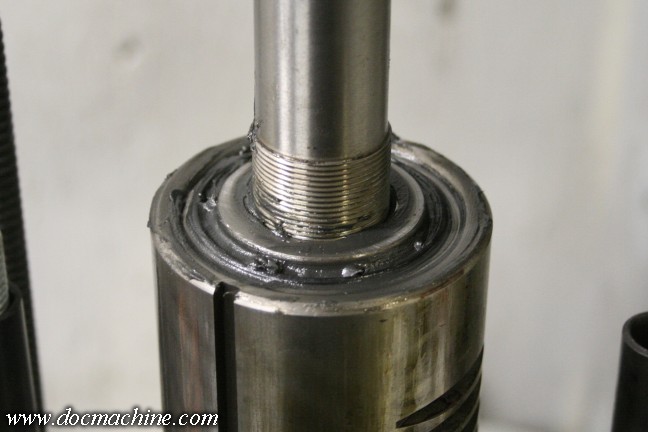
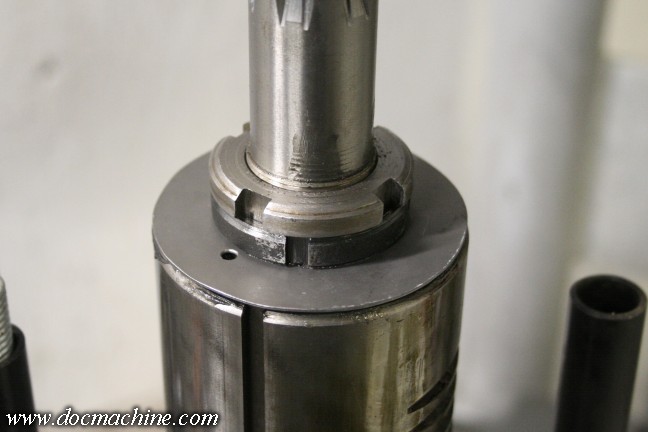
One of the other things I didn't like was there wasn't even so much as a dust cover over the upper bearing.
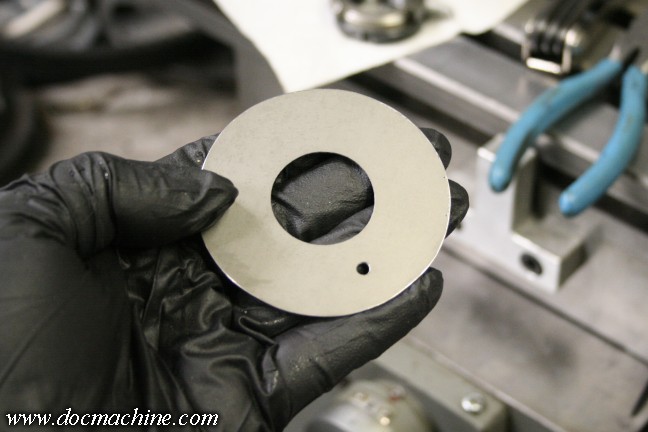
There's no easy way to actually seal that bearing, but I at least wanted a dust cover, So I snipped one
out of some 20 ga steel I had in the bin. I think it was truck hood. :)
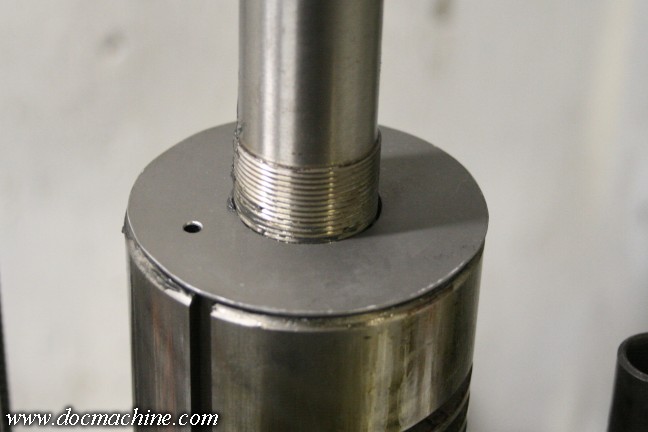
That fits down under the locknuts, and acts as a rudimentary dust cover. The hole is for injecting
fresh grease periodically- since it spins with the spindle, having a zerk or oil cup on there
wasn't a wise idea, so I just used a hole.
Then it was just a matter of installing the locknuts, giving it just enough torque that I felt a little drag as it turned.
Once it's ready, I'll run it for 15 minutes or so, and monitor the bearing temps with an infrared gun.
If they don't get much above room temp, they'll be fine.
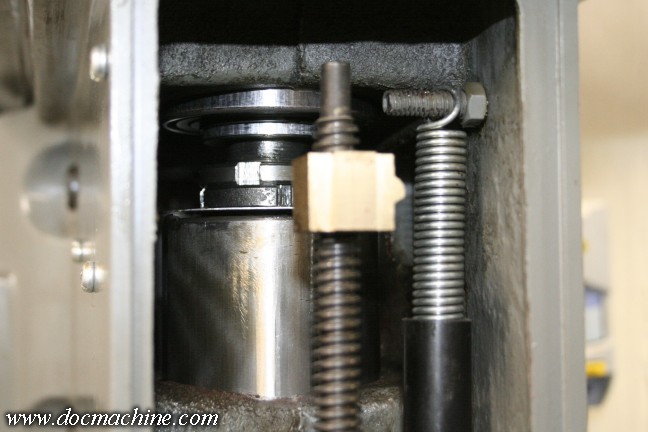
And reinstalled into the headstock. I'd imagine the dust cover is going to act like a slinger,
flinging bits of grease and oil that's oozed out of the grease, but there's not much I can
do about that at the moment. At least it'll be contained inside the casting.
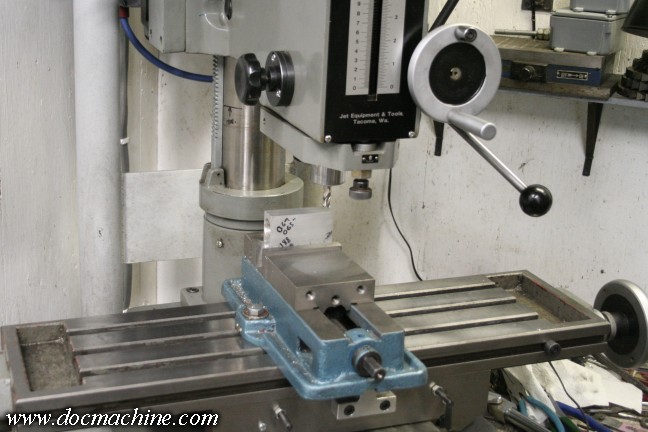
With the spindle ready, the power supply hooked up, and the drivetrain fully rebuilt, it was
finally time for a test! To cut the first chips with this machine since around this time in 2003.
I threw on one of my extra 4" mill vises- which, truth be known, is the first time
I've had a proper mill vise mounted on this machine. All the while I was using it,
I was using one manner or another of cheap drill-press type vises.
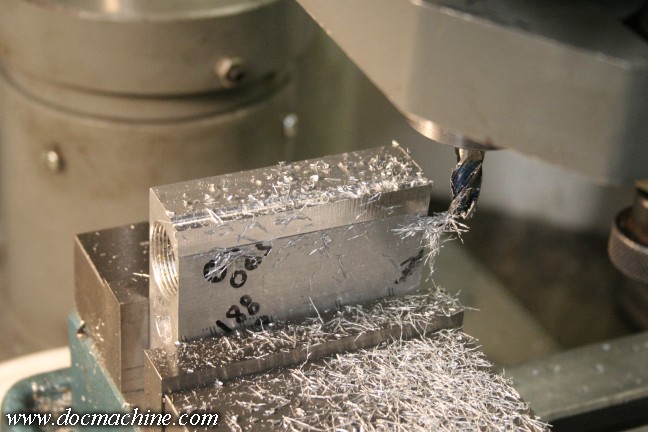
A collet, a nice sharp 3/8" endmill, a chunk of scrap out of the bin, and... what do you know, it works!
Well, kind of. I was rather disappointed to see the resulting surface finish was hardly any better
than the test cut I made back when it was all worn belts and bad bearings.
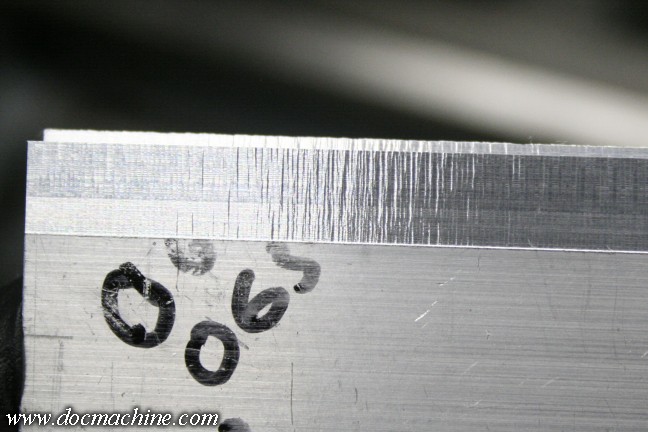
Fresh, new cut.
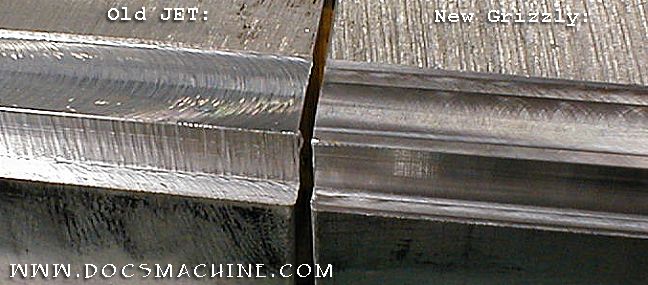
Old, worn out cut. Comparing them side-by-side (I actually still have that old test-cut bar) the new one is only
marginally better. Admittedly I was never expecting perfection- it IS, after all, just a cheap Asian mill drill-
but I was expecting some improvement.
Clearly I have more work ahead of me. Despite the fact I at
one time did a great deal of what I still like to think was some very good work with this machine,
it's basically no good to me in this condition.
It's at best a drill press, and I already have a couple of those. :) So it's time for a proper analysis.
Time to get out the tenths indicator and start looking for slop, eccentricities and other errors.
Kind of a pisser, as I was hoping I could wrap this thing up and move on to other projects,
but she's clearly not done yet, and I'm not going to set it aside for another five years.
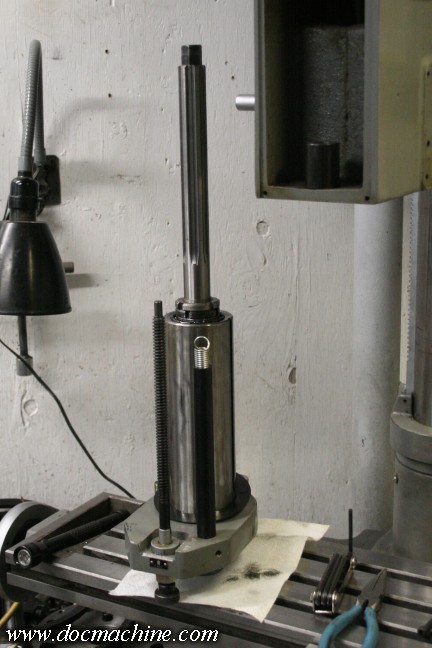
Anyway, in closing a quick beauty shot. Beauty is of course in the eye of the beholder. :)
Before I'd added a bunch of additional overhead fluorescents, it was pretty dark working
on this machine, as the main light was behind me. So I added these two gooseneck
incandescent lights, which I'd originally had hooked up to the disconnect switch which
powered the machine. Lights were on? Machine was live.
Even though I've added
way more light in the shop I'll probably still keep 'em. They're kind of handy.
 |
 |
 |