[
Return to Main Page ] [
Return to Projects Index
] [
Doc's Machine & TWB Store] [
Contact Us ]
[
The Whiteboard Webcomic
]
Convert your 'Cocker to a clamping front block!
Those of you with E-Blades and the like know that the solenoid housings don't always like to stay in place.
Eclipse provided an O-ring to help tighten the housing, which didn't work terribly well, and some manufacturers
put a small set screw in to jam the threads, which worked even worse- and damaged your threads.
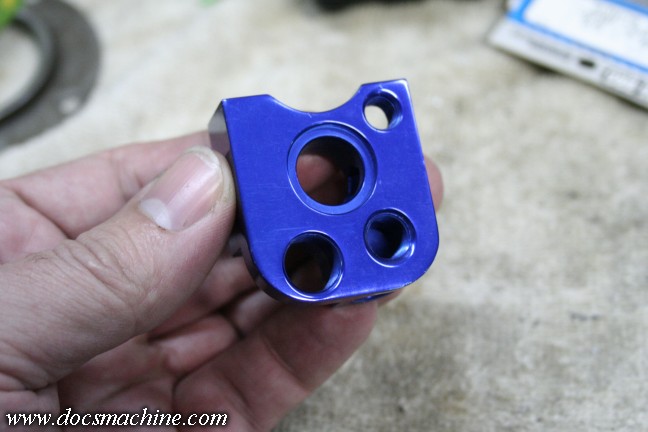
Loctite helps, but really, the proper fix is to have a good solid mechanical clamping method. I've been doing this
mods for many years, so here's a quick rundown: First, you need a block that actually has enough extra meat to
accept the clamping screw- a factory WGP block works well, as do some of the ANS blocks.
I usualy make an angled cut, and so put the screw in at an angle. This is not a terribly precise job,
so "right about there" is usually just fine. (The screw will get cut down later.)
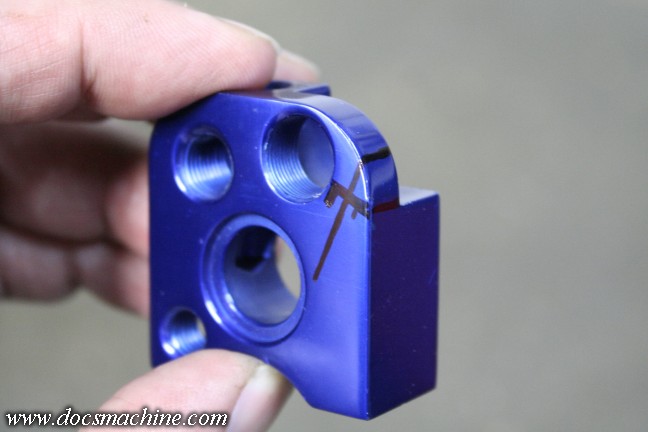
A few guide lines in Sharpie and you're ready to make some chips.
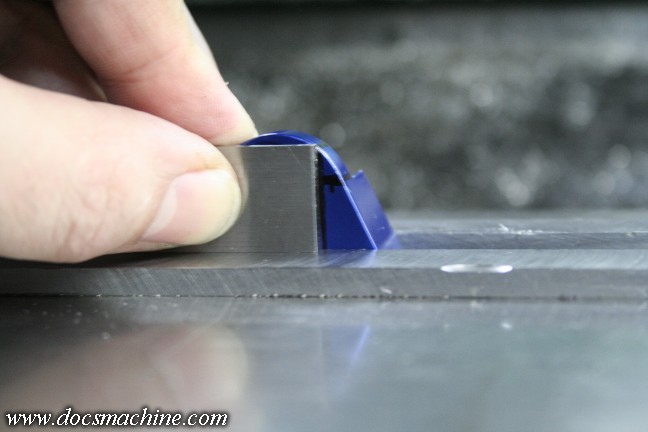
The Sharpie guide line provides a way to square the block up in the mill. Again, this doesn't require
a great deal of accuracy, so just lining it up by eye is sufficient.

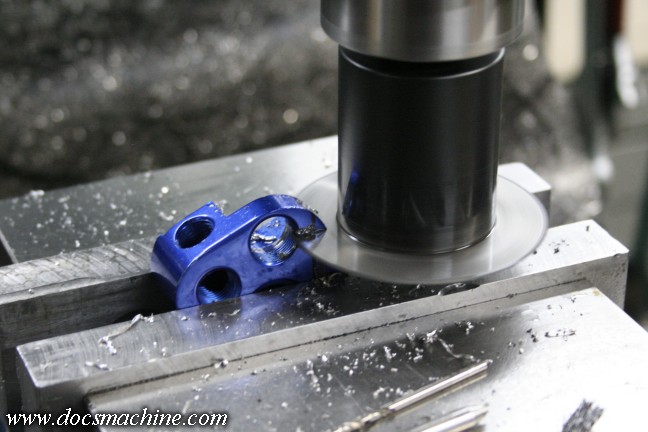
Then line up the mill cutter with the mark, raise the tool and center it over the body.
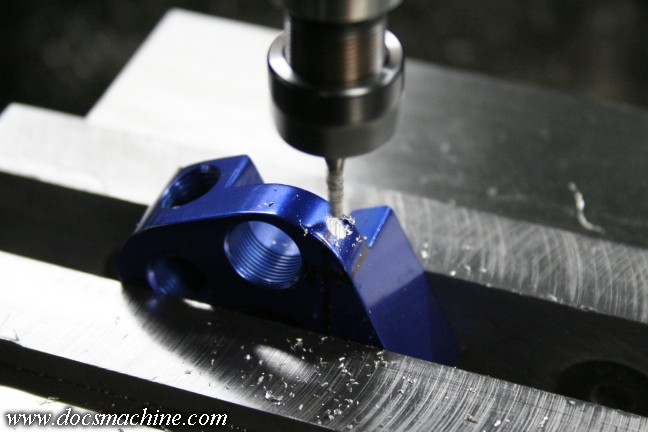
Since it's an angled surface, I use an endmill to start a pilot hole- a drill would tend to wander.
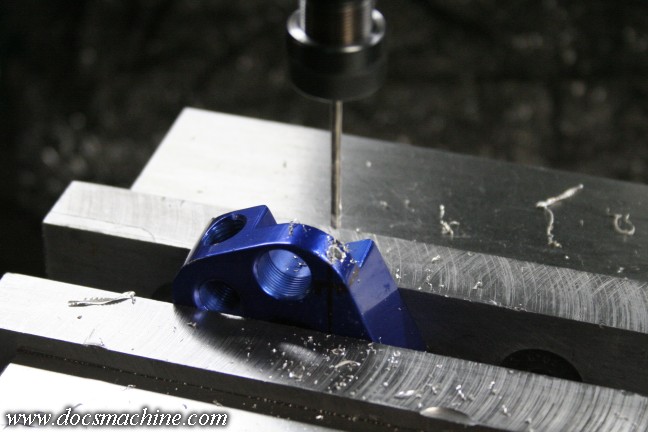
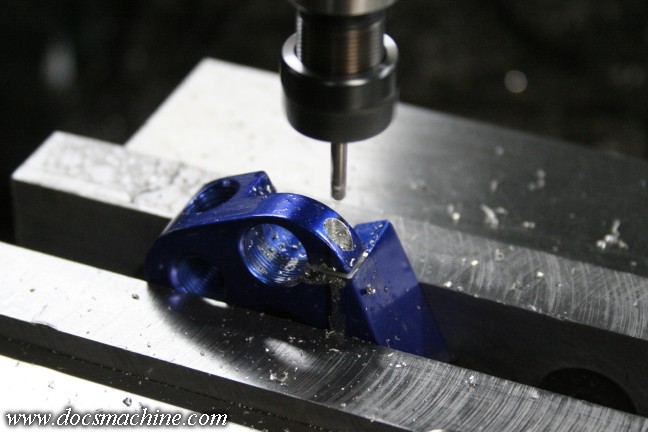
Once you have the pilot hole, drill to depth- don't break through! - with a #43 (.089") tap drill.
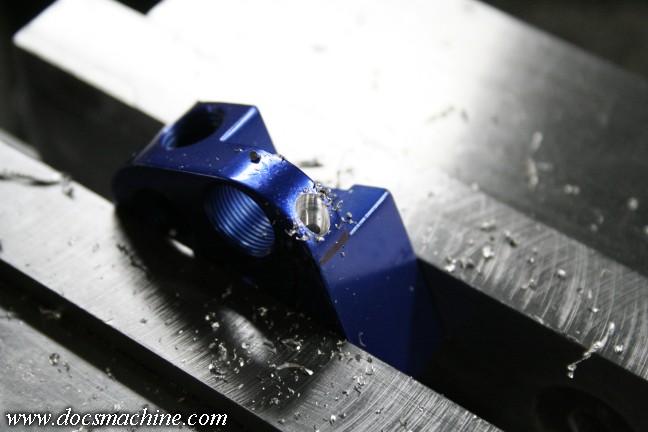
Counterbore with a 3/16" endmill, trying to get the head of the screw as deep as possible,
but no so deep you break through when sawing the slot.
|
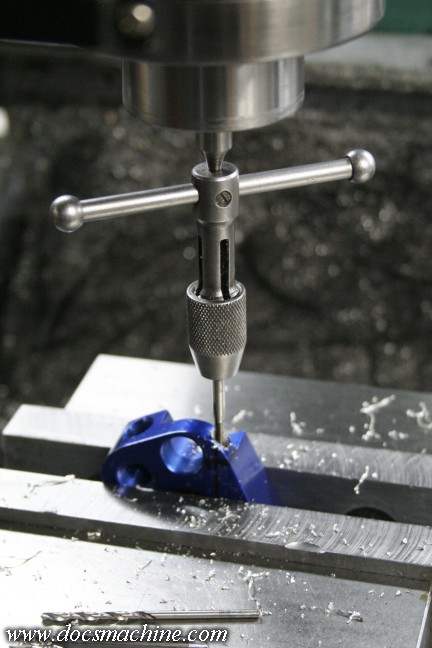
Tap, of course, to 4-40.
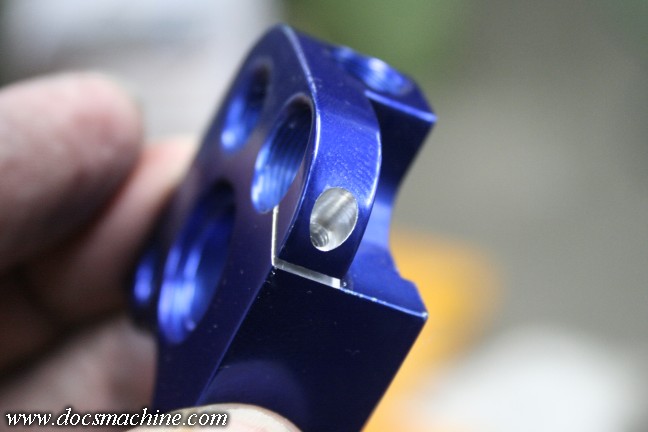
Now, the tricky bit is to cut through the side of the block. It's easy enough to do, but due
to the thin portion of the block (top edge, as seen here) you need to go slowly, with a fine-tooth
cutter. Get to aggressive and you'll bend or even break the corner off.
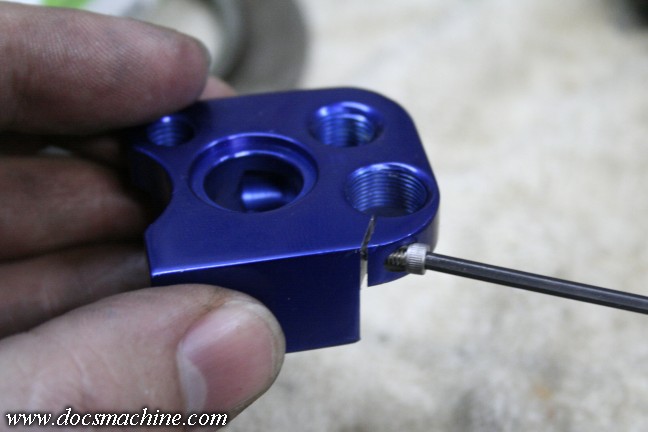
Also tricky- drilling the hole for clearance to the screw. Again, go slow and be careful.
This can also be done before sawing.
Cleaned up and blown off, and that's it. It's done!
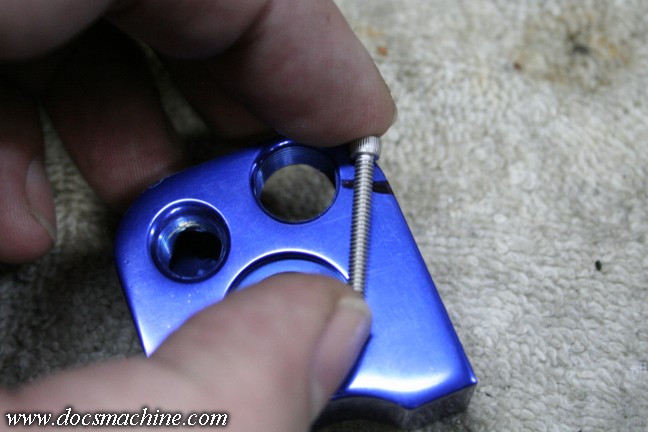
The stainless 4-40 screw I had on hand was a bit long, so I checked the length (depth) and trimmed it to size.
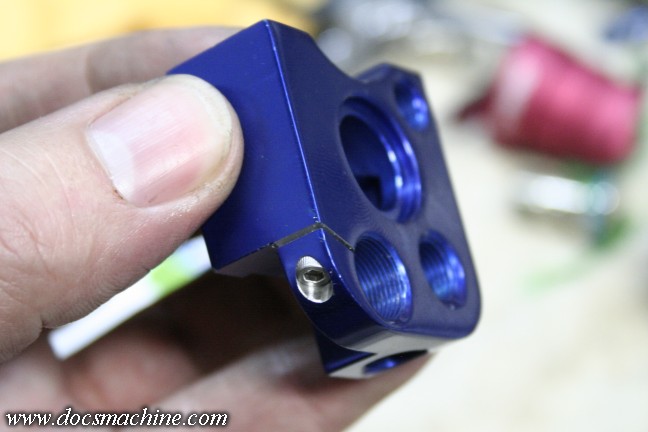
Finished and ready to install.
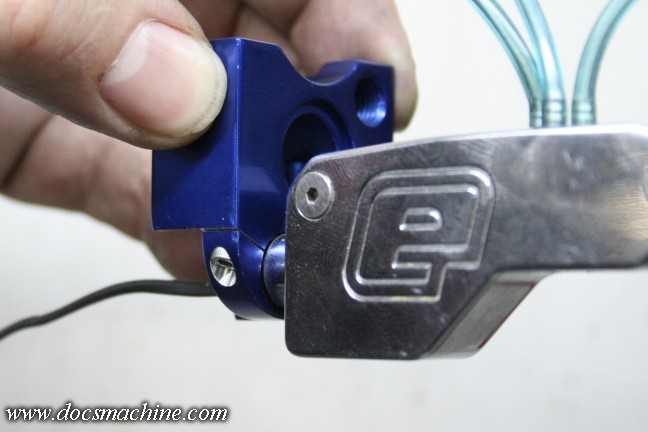
To use, it's as simple as screwing in the E-Blade solenoid body (or your favorite 3-way)
and once you're sure it's straight/vertical/whatever, snugging the locking screw down.
You don't need to lean on it- it has surprisingly good holding power even just snugged.
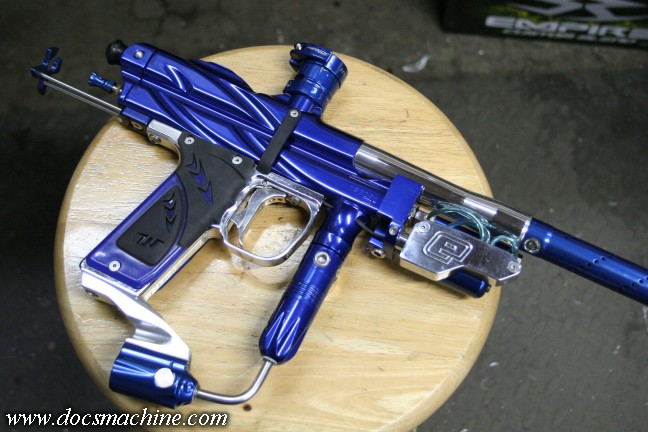
Assembled on the gun and ready to hit the field!
All text, photos and graphics
Copyright 1998- 2015, Doc's Machine & Airsmith Services. All Rights
Reserved.
Information contained in
these pages is for reference and entertainment
purposes only. Our methods are not always the best,
quickest, safest, or even the correct ones. It's up to you to know how
to use your own machines and tools.
Keep your fingers away from the spinny blades o' death and you should
be all right.


