[
Return to Main Page ] [
Return to Projects Index
] [
Doc's Machine & TWB Store] [
Contact Us ]
[
The Whiteboard Webcomic
]
A New Spindle Nose Collar for the 5C Collet Setup
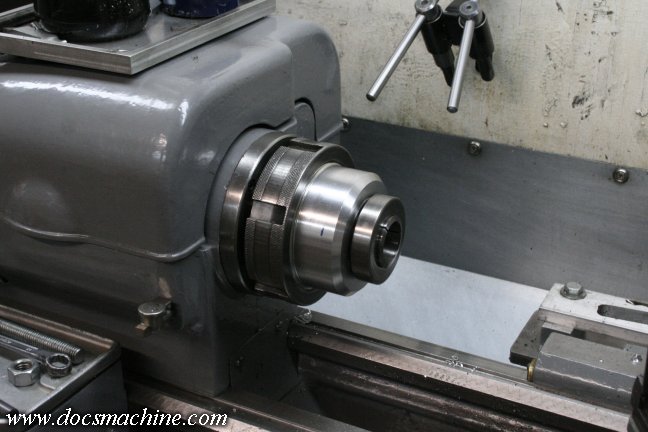
I'm still a big fan of the 5C collet setup on the Sheldon, and use it quite frequently. The only thing I didn't like
about it, and this was only an OCD-aesthetic issue, was the "wedding cake" appearance of the spindle nose
when the thread protector and collet adapter were in place. I decided that, if I had a spot of free time, I would
make a new thread protector that would blend things together better, make it all look like a proper chuck.
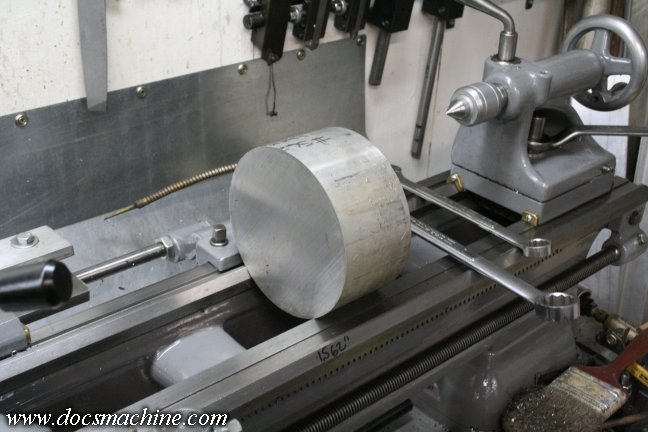
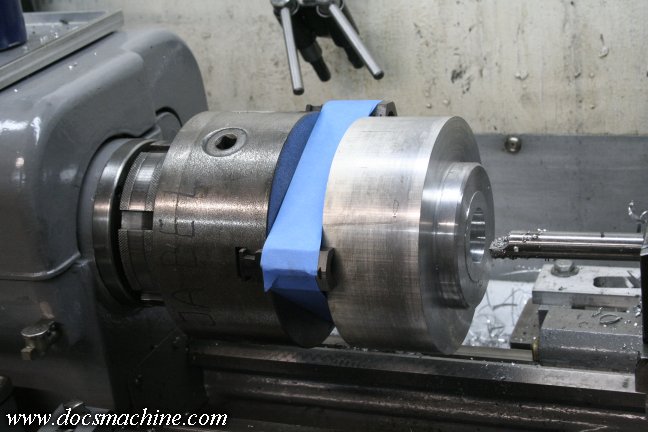
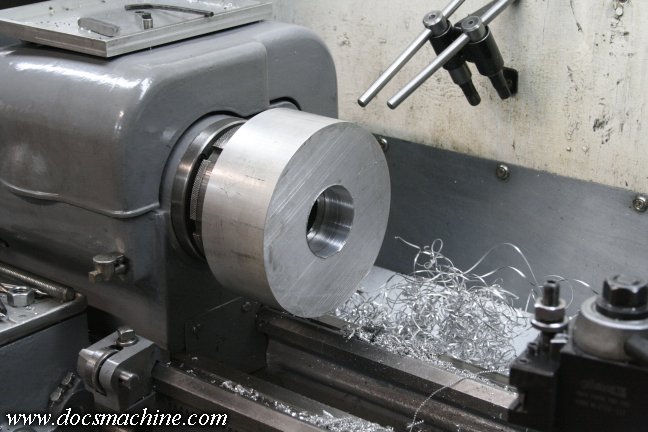
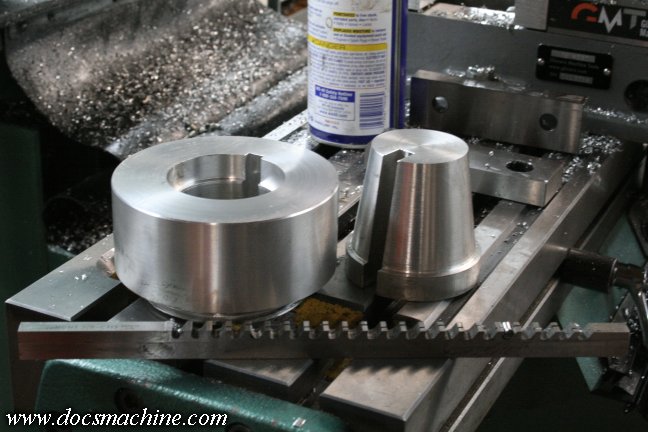
I'd needed to order a big chunk of aluminum for another project, so I picked up a piece large enough for that
job and the new collar. The other piece as a bit bigger, so the remainder was quite a bit oversize for the
new collar. No problem, it just meant I'd have to do a little extra turning.
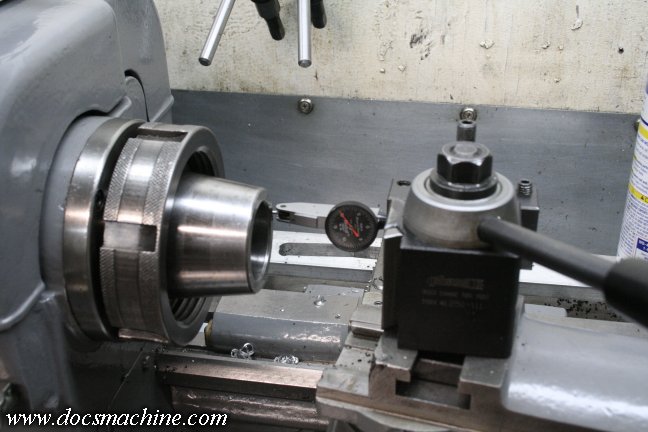
To start with, I got out a test indicator and lined up the compound with the taper of the L-00 spindle nose.
With a little care I was able to get it spot on. I probably should have used the taper attachment, but it's not
as easy to set precisely like this, and the depth of cut was well within the compound travel.
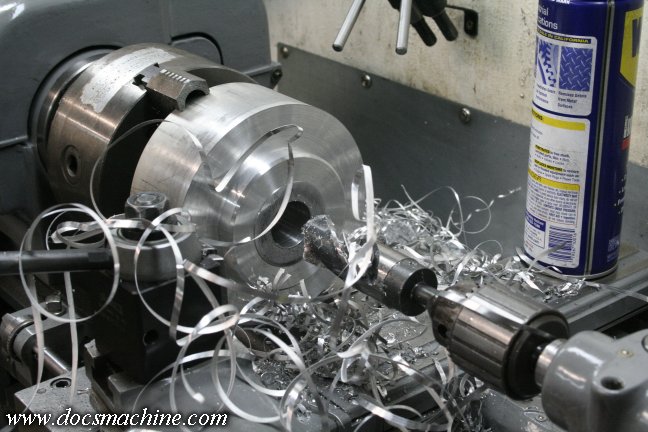
After that, it was simply a matter of makin' chips. I first turned the face down to an appropriate "step" for the
threads, and then drilled it out as large as I was able to get the bulk of the material removed.
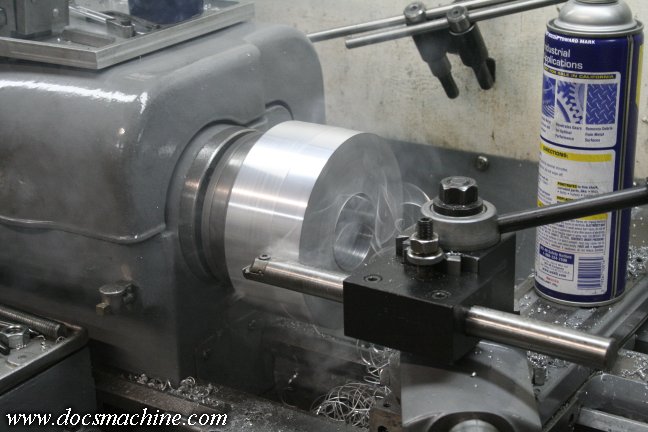
I then bored the hole out to the same diameter as the small end of my existing collar. The boring bar insert has
an excellent chipbreaker, and the thing flung little springy chips all over the room. So I put a couple turns
of blue masking tape over the jaws, and that contained things nicely.
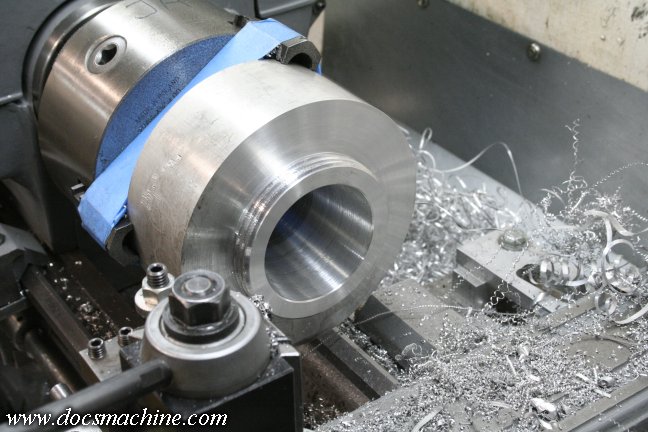
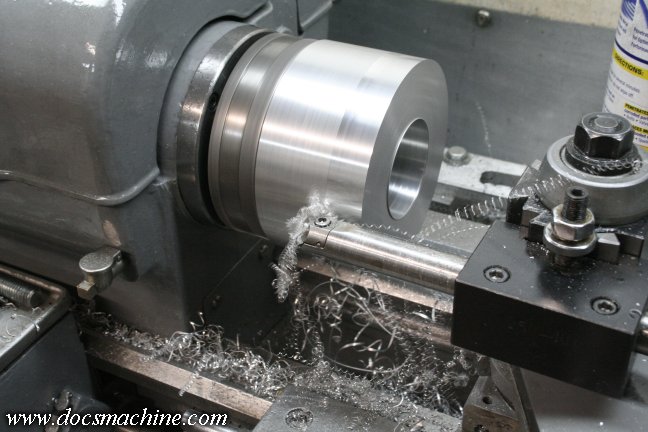
After quite a bit of repetitious boring, once it was to size I switched to the compound and did the taper.
That, too, I simply bored until the "wide end" was the same dimension as the existing collar.
Finally, I very carefully threaded the short step.
Now, while I had some decent measurements, and thought I had the threads pretty close to spec, I of course
wanted to check them. Well, if I took the part out of the chuck jaws, I could lose both my centerline, and possibly
the indexing for the thread. Fortunately, the solution was simple- just dismount the chuck and workpiece as a
unit, flip it around, and try it. However, as I hadn't milled the keyway groove yet, I first had to remove the key.
The first trial fit was much too tight, and would only engage about half a thread. The second trail was much better,
but still very tight. The third was just about perfect. And, thankfully, I had the depth of the step and the taper cut
just right, and it tightened and seated into place almost perfectly.
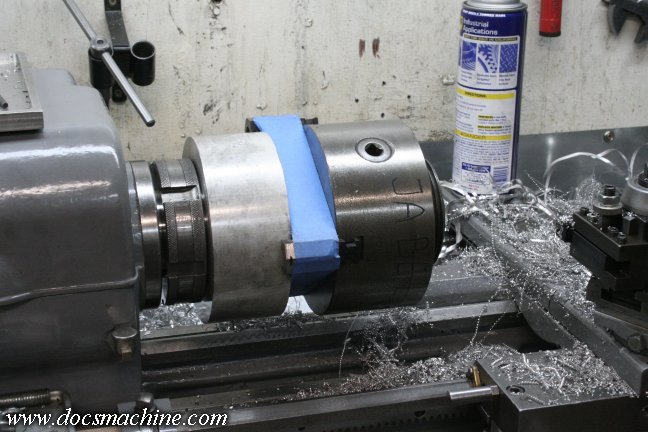
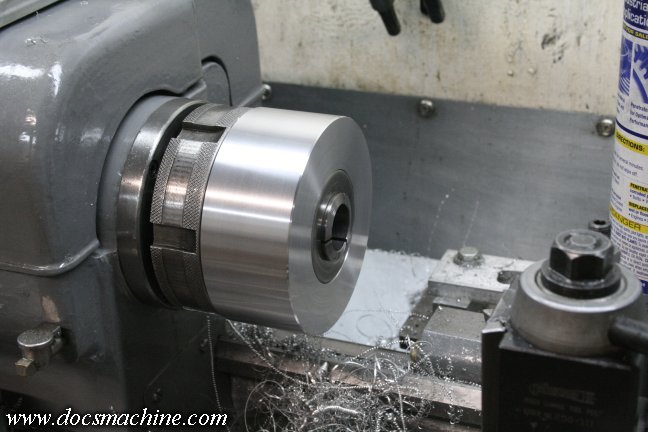
With that, I was then able to simply install the collar blank by itself, into place on the spindle nose,
and turn it to shape right where it lay.
Due to the diameter, I rotated the toolpost and used a boring bar that takes triangular HSS inserts. I was able to
grind a workable cutting edge on the "back end" of the insert, and using that, to then laboriously turn the body down.
Finally I had it down to size, and have it a finishing pass.
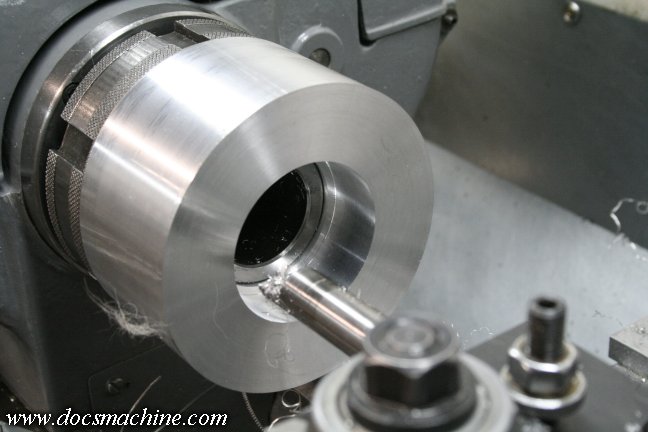
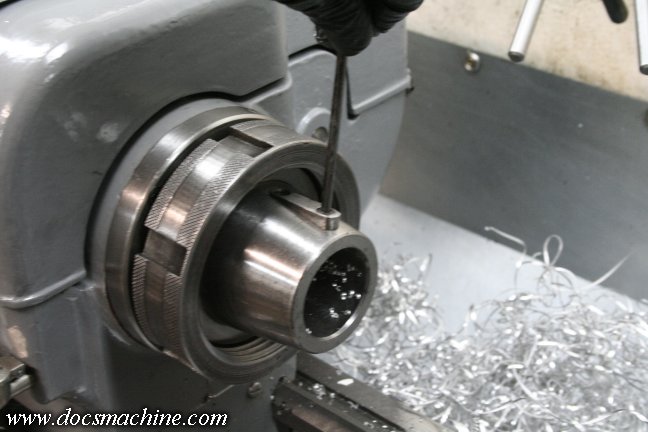
I then gave the front edge a cursory facing pass, and carefully bored the nose to clear the 5C insert.
Note the "step" remaining inside the bore- this is important, because that's that's used to "push" the
5C insert out of the spindle taper, when you want to remove it.
And finally, with a little care and cut-and-try, I got the bore perfect, and then turned down the remaining
length on the face, until it was just .005" below the level of the adapter insert.
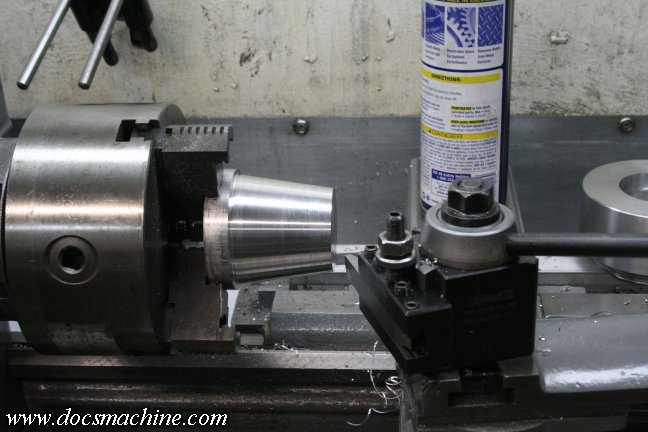
The last step to finish the part, was broaching a keyway to clear the spindle drive key. However, the bore
was larger than any of my broach collars, and tapered besides. So I grabbed a spare chunk of 3" round,
and turned the same taper on the OD, with a step to help seat it.
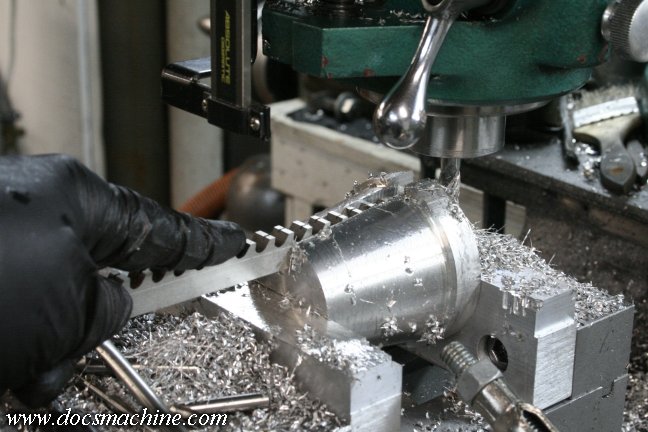
Once that was done, I milled a groove into it for the broach itself.
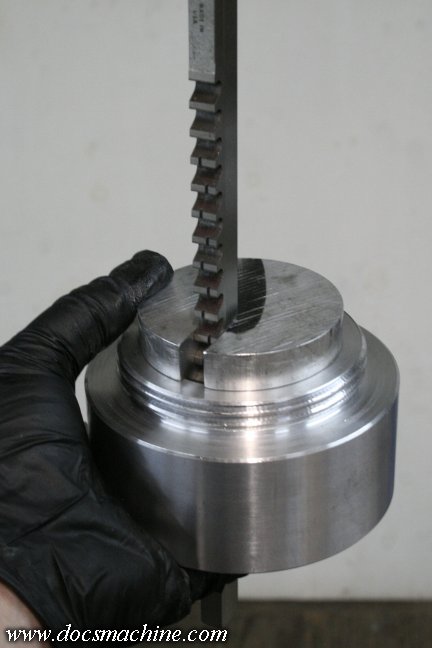
With that done, it was a standard broaching exercise in the hydraulic press.
And done. The broach collar, having done its job, can still at
some point be easily remachined to fit a straight bore if needed.
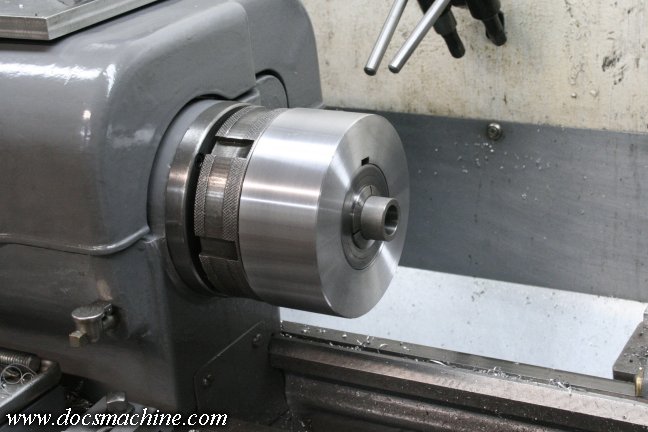
Done and installed. Not really a groundbreaking mod, but I think it looks better. :)
All text, photos and graphics
Copyright 1998- 2016, Doc's Machine & Airsmith Services. All Rights
Reserved.
Information contained in
these pages is for reference and entertainment
purposes only. Our methods are not always the best,
quickest, safest, or even the correct ones. It's up to you to know how
to use your own machines and tools.
Keep your fingers away from the spinny blades o' death and you should
be all right.


