[
Return to Main Page ] [
Return to Projects Index
] [
Doc's Machine & TWB Store] [
Contact Us ]
[
The Whiteboard Webcomic
]
Setting up a ShapeOko 3 CNC Router and Enclosure, Part 1:
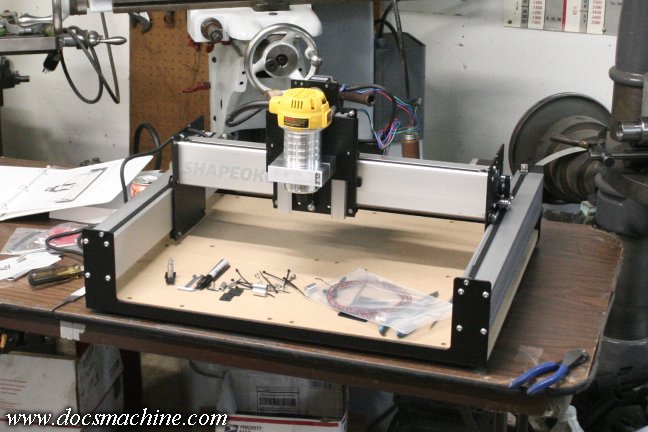
In late 2016, in anticipation of needing some production woodwork for the forthcoming "Duke"
lever-action
paintball gun project, I picked up a Shapeoko 3 CNC router. It came very well recommended, and I liked
the design and layout. I got it in a "Black Friday" sale in which they upgraded me to a free DeWalt router
as a powerhead, and once I got it in, it took only a few minutes to assemble.
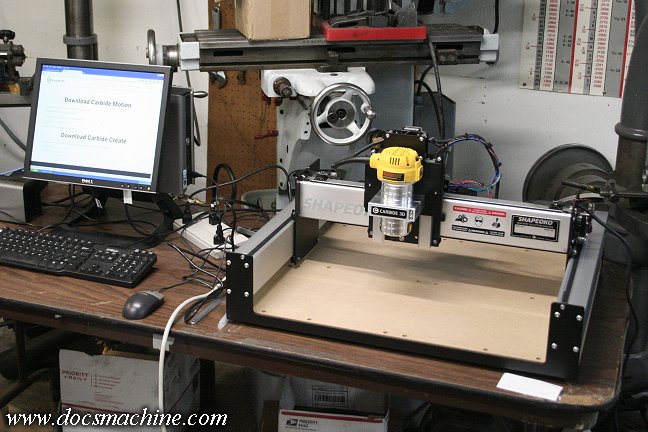
I first tried using an old XP PC I'd been using at the time for the
Logan CNC conversion (which was then
running on Mach 3 and required a PC with a parallel port) but the Carbide Create and Carbide Motion
software that came with the router would only run on Win7 or newer. I got out a spare Win7 PC
I had, and got it set up and the software loaded.
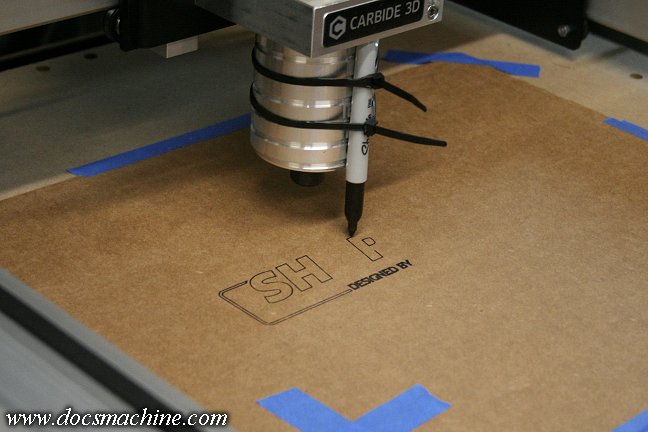
Shapeoko provides you with a sort of "hello world!" program for you to try your new machine, and even
supplied a Sharpie and some zip-ties for the setup. I slapped it together, and it ran the program perfectly
right out of the box.
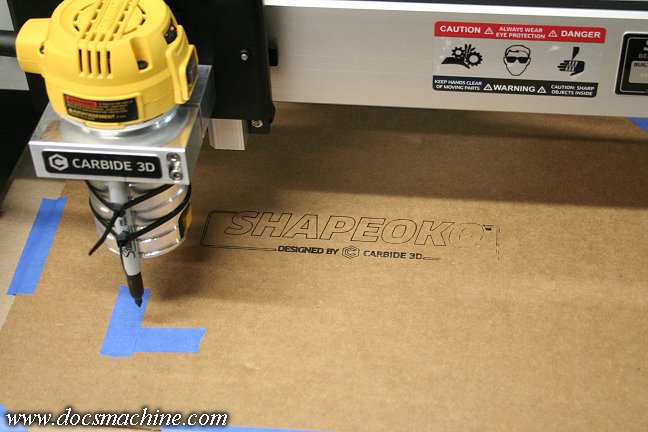
The cardboard wasn't quite level so it faded a bit towards the right- the software doesn't put a lot of
pressure on the pen so it doesn't squash the tip- but it was still fun to see it run.

After that, I tried a bit of an experiment, and ran the same program using a fine-point, V-tipped engraving
cutter. It was kind of a risk, as the program wasn't written to take into account cutter speeds and chip loads,
but I was taking a shallow cut of only 10-15 thou, in soft wood, with a small point. Ran just fine. :)
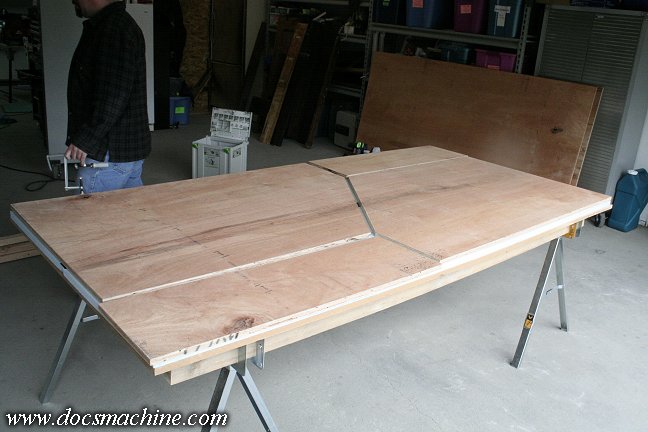
Several months later, after shifting the router around from table to table, I decided I needed both a cabinet
dedicated to holding/storing it, as well as one to contain the dust and chips. I bought a couple sheets of birch
plywood and some 2x4s, and enlisted (more like drafted) a woodworking buddy of mine to help saw it up
into shape. A bit of clever designing got both major sides out of one sheet.

The back, top, doors and inner shelves came out of the second sheet, and
the top and front 'gate' came off the original sheet. The plan is to put it up on
locking casters, and fit a shop-vac and Dust Deputy for chip control into
the cabinet underneath.
All text, photos and graphics
Copyright 1998- 2017, Doc's Machine & Airsmith Services. All Rights
Reserved.
Information contained in
these pages is for reference and entertainment
purposes only. Our methods are not always the best,
quickest, safest, or even the correct ones. It's up to you to know how
to use your own machines and tools.
Keep your fingers away from the spinny blades o' death and you should
be all right.


