[
Return to Main Page ] [
Return to Projects Index
] [
Doc's Machine & TWB Store] [
Contact Us ]
[
The Whiteboard Webcomic
]
Converting a Grizzly G8689 Mini Mill to 3-axis CNC, Part 14:
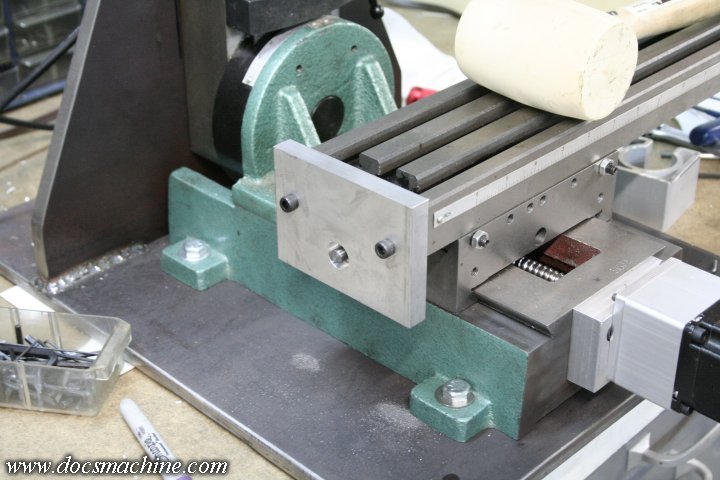
The last little bit of major fabrication to do, is the left end support for the X-axis screw. There's no real strain or support
needed here, just something to both close in the end of the table, and to hold a support bearing to the end of the
screw doesn't "whip" under high speeds.
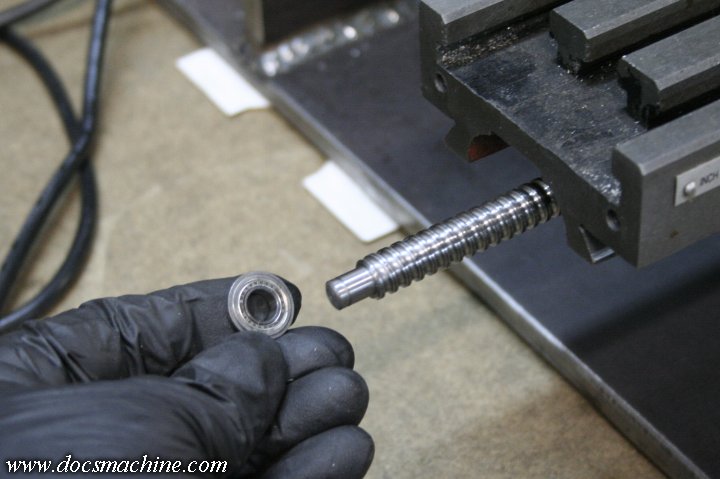
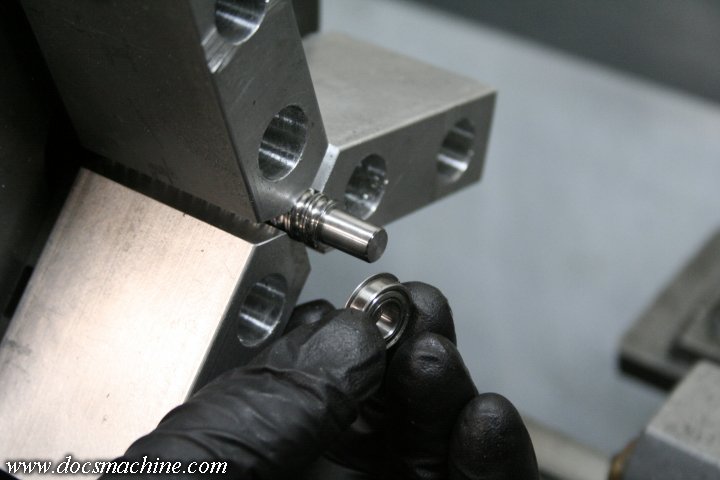
The bearing is a tiny one salvaged from an old copier years ago, and has
a 'snap ring' to form a flange
around the outside. So if I make a plate
that that flange seats against from the screw side,
I don't need any
real retention to the bearing, it'll be kind of self-captured.
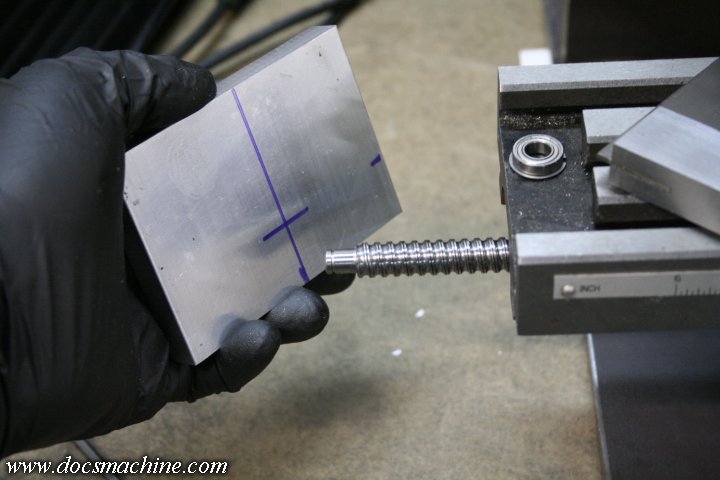
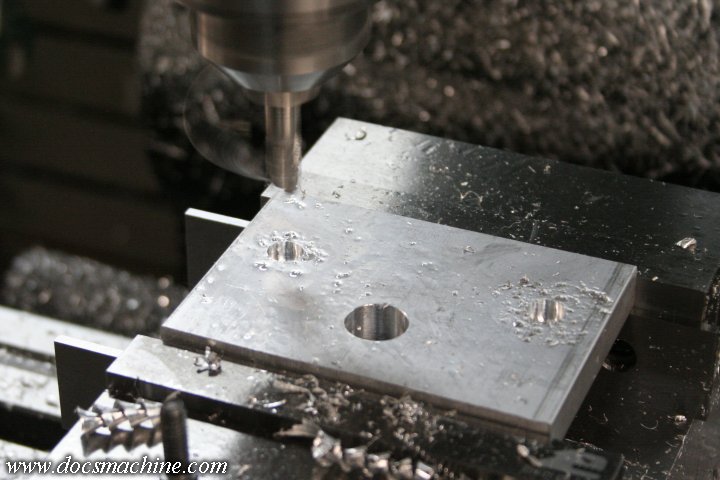
So I bandsawed off a chunk of 1/2" by 4" aluminum bar stock,
squared one cut edge, and eyeballed a likely location for the bearing.
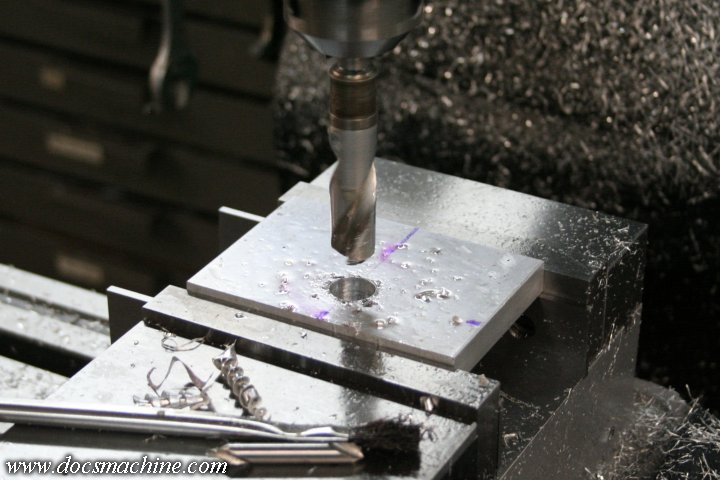
That spot got drilled...
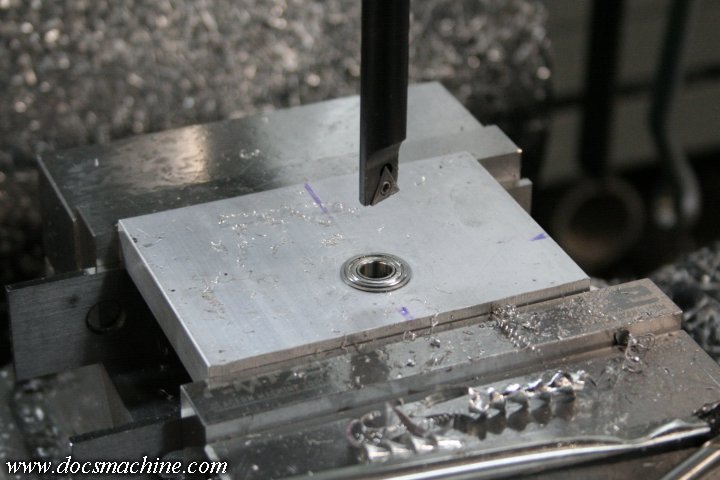
And then bored to accept the bearing, in a snug but slip fit.
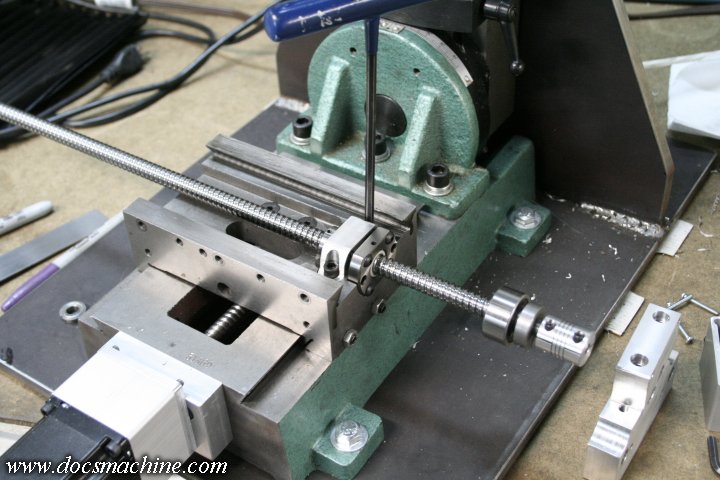
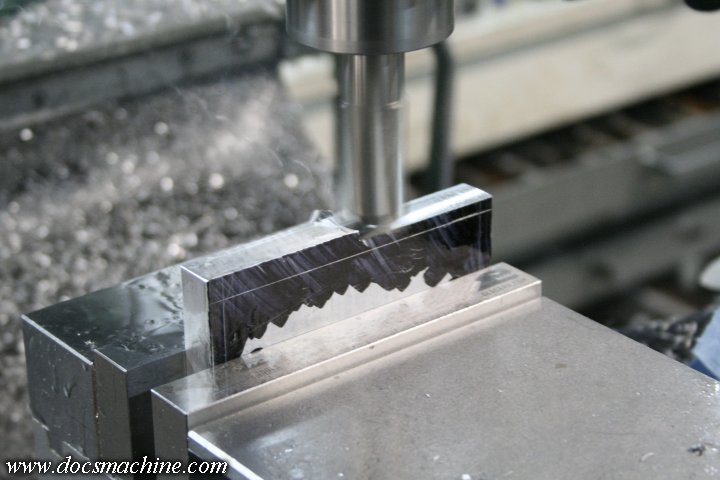
Now, the problem here is that the screw is about an inch and a half too long,
so I had to redismantle the table, and remove the screw...
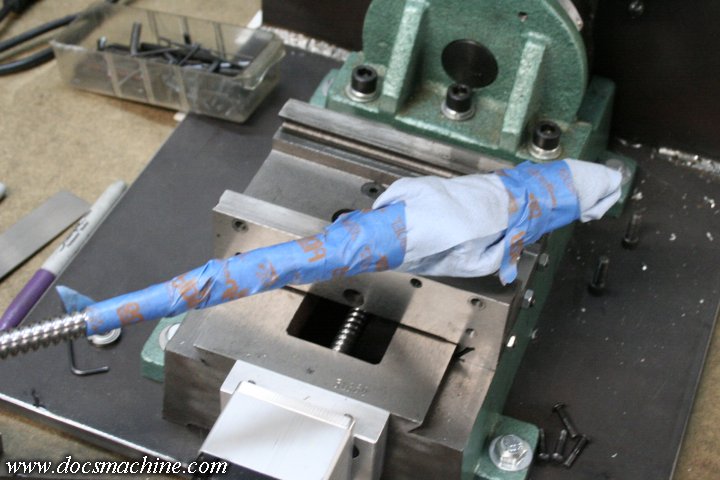
And then again wrap the ballnut and bearing with some paper towels and tape to protect them from gunk and swarf.
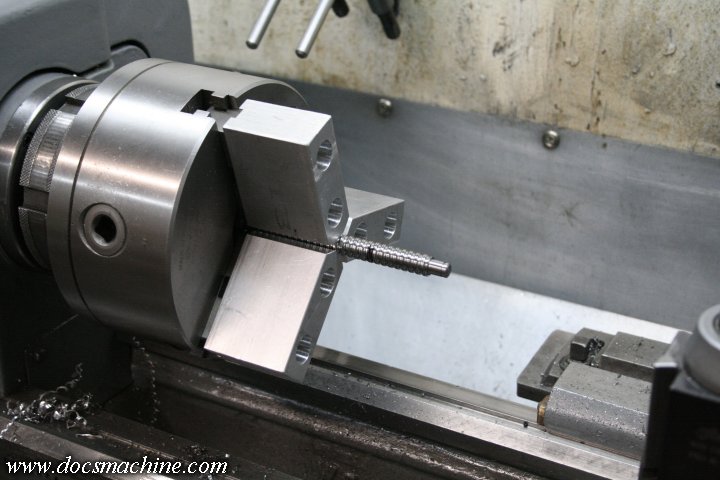
I then swapped the steel jaws with the bored-in-place aluminum soft jaws, again both for concentricity and so as to not mar the
ballscrew "threads", and slipped the assembly down the headstock so I
could grip the screw up close to where it needed to be cut.
The "ball ways" of the screw proved to be harder than I expected, but with some carbide tooling,
I was able to part it off and turn an appropriate step in the end.
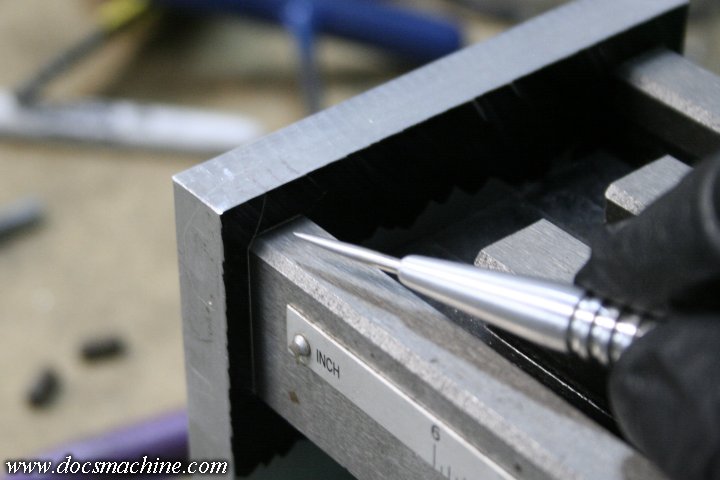
Then, using the aforementioned Heimann transfer screws, I marked the location of the bolt holes in the table,
drilled them out, and checked it for fit.
With the fit spot-on, I flipped it and counterbored the holes for the same 1/4"-20 capscrews used at the other end.
(Well, not the
same ones, two more just like them.)
With that, I could degrease the plate, scribble on it with a Sharpie, bolt 'er in place, and scribe the profile of the table.
Then it was a simple matter of milling down to those scribe marks...
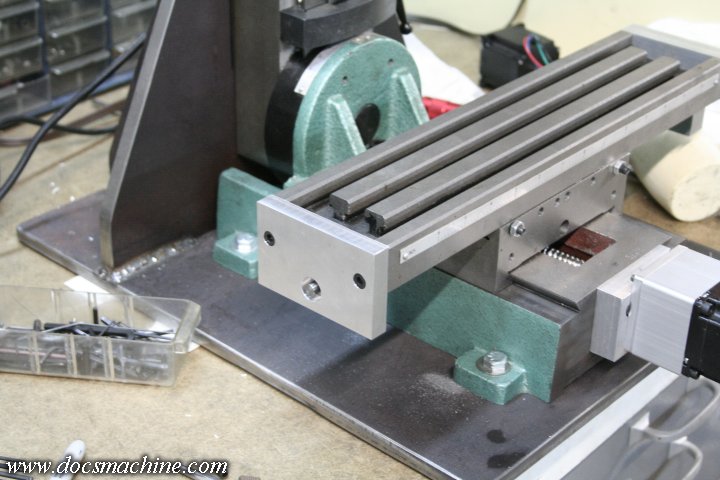
Which fits it a lot better to the shape of the mill table.
All text, photos and graphics
Copyright 1998- 2019, Doc's Machine & Airsmith Services. All Rights
Reserved.
Information contained in
these pages is for reference and entertainment
purposes only. Our methods are not always the best,
quickest, safest, or even the correct ones. It's up to you to know how
to use your own machines and tools.
Keep your fingers away from the spinny blades o' death and you should
be all right.


